Empty dirt area to finished planter bench
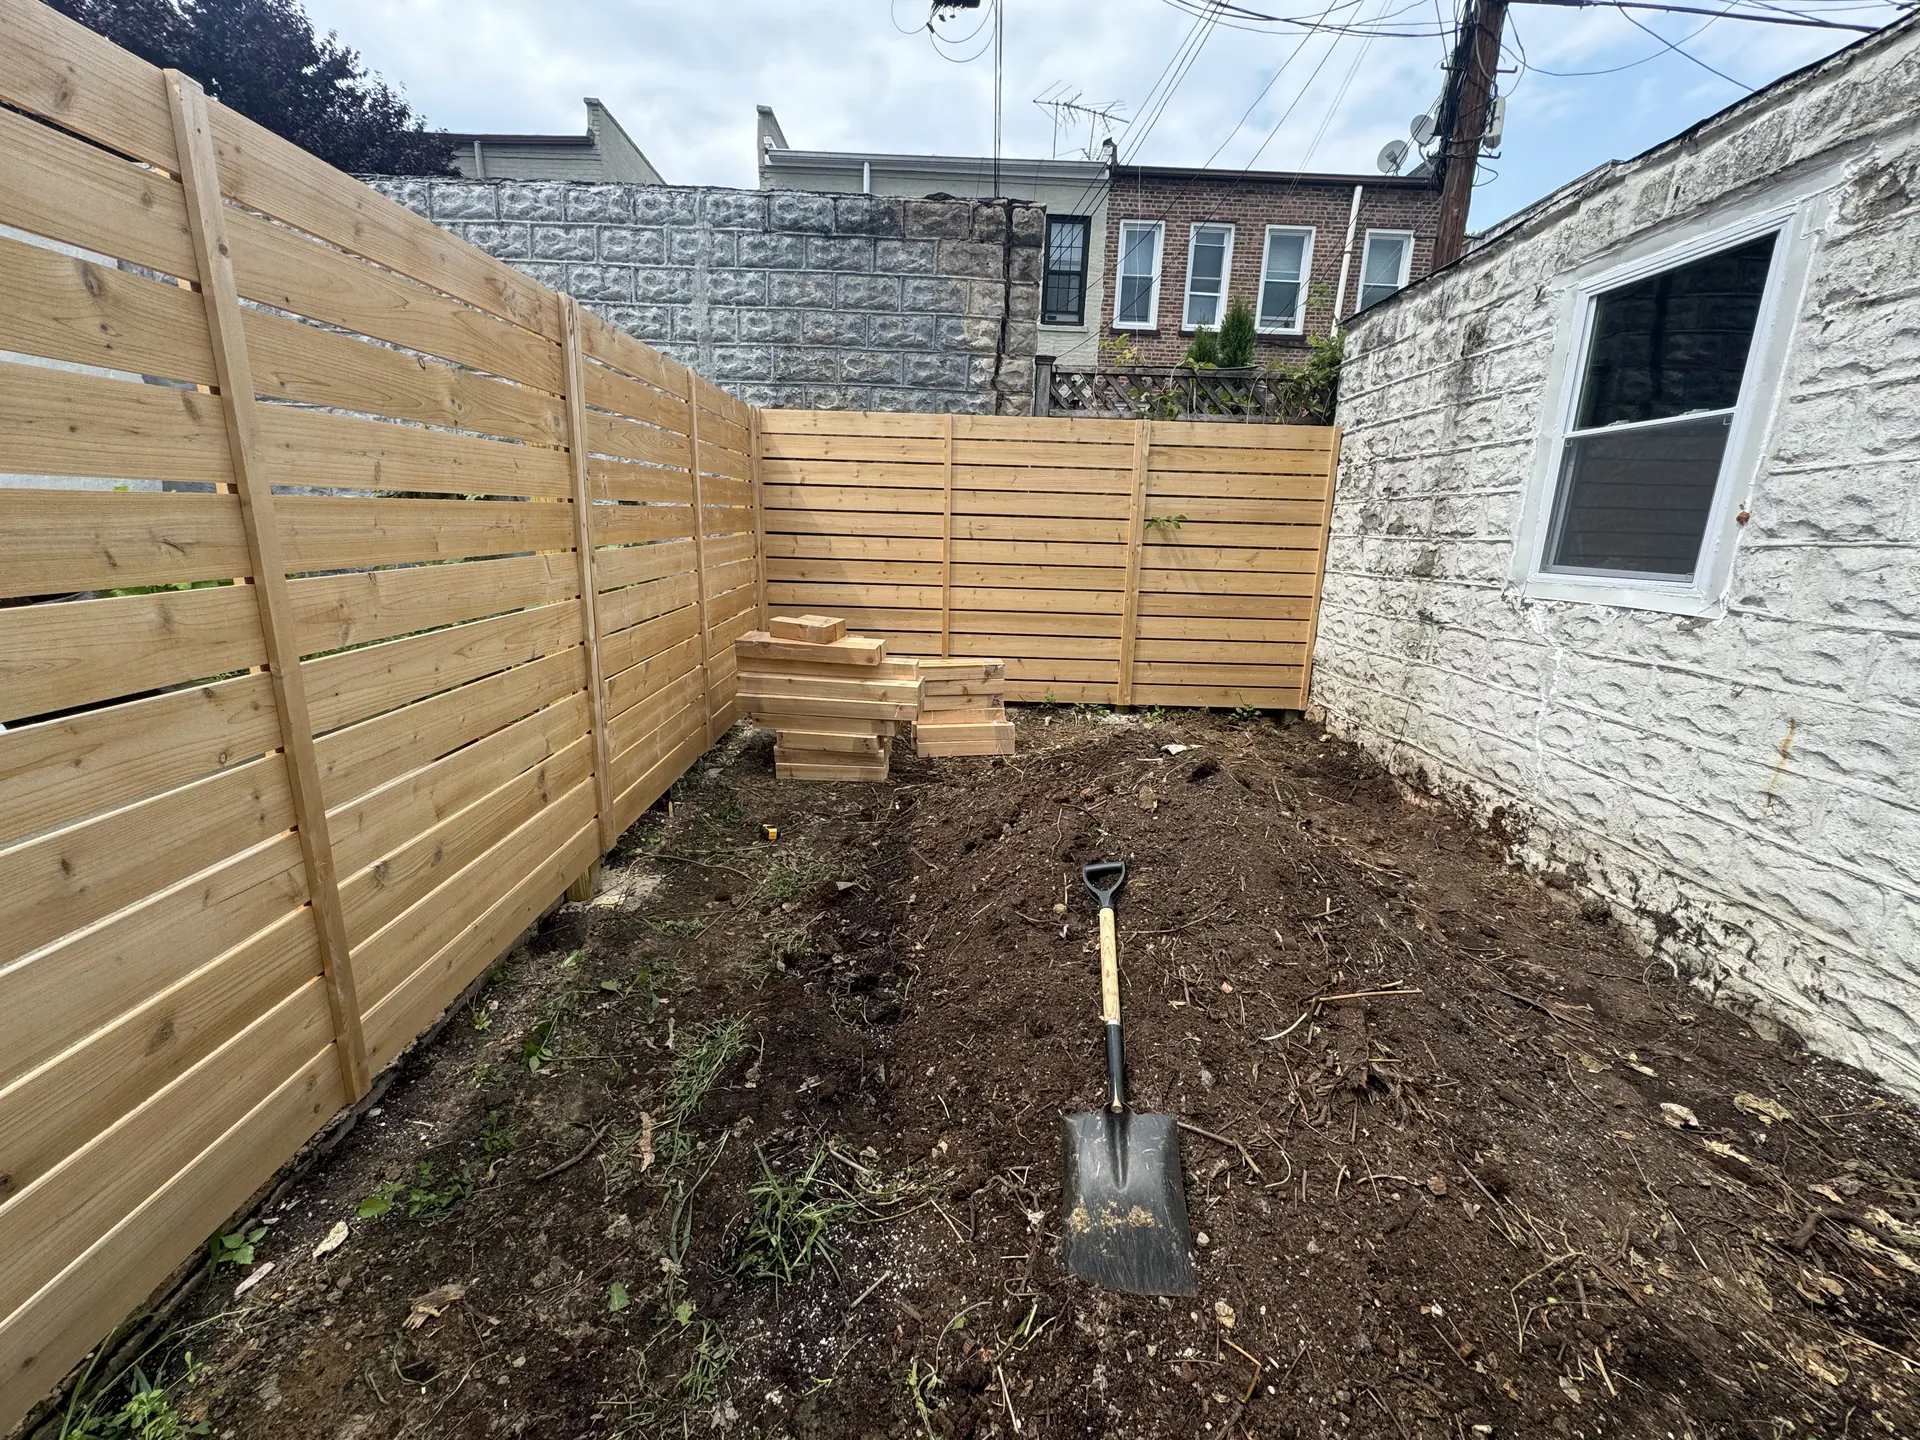
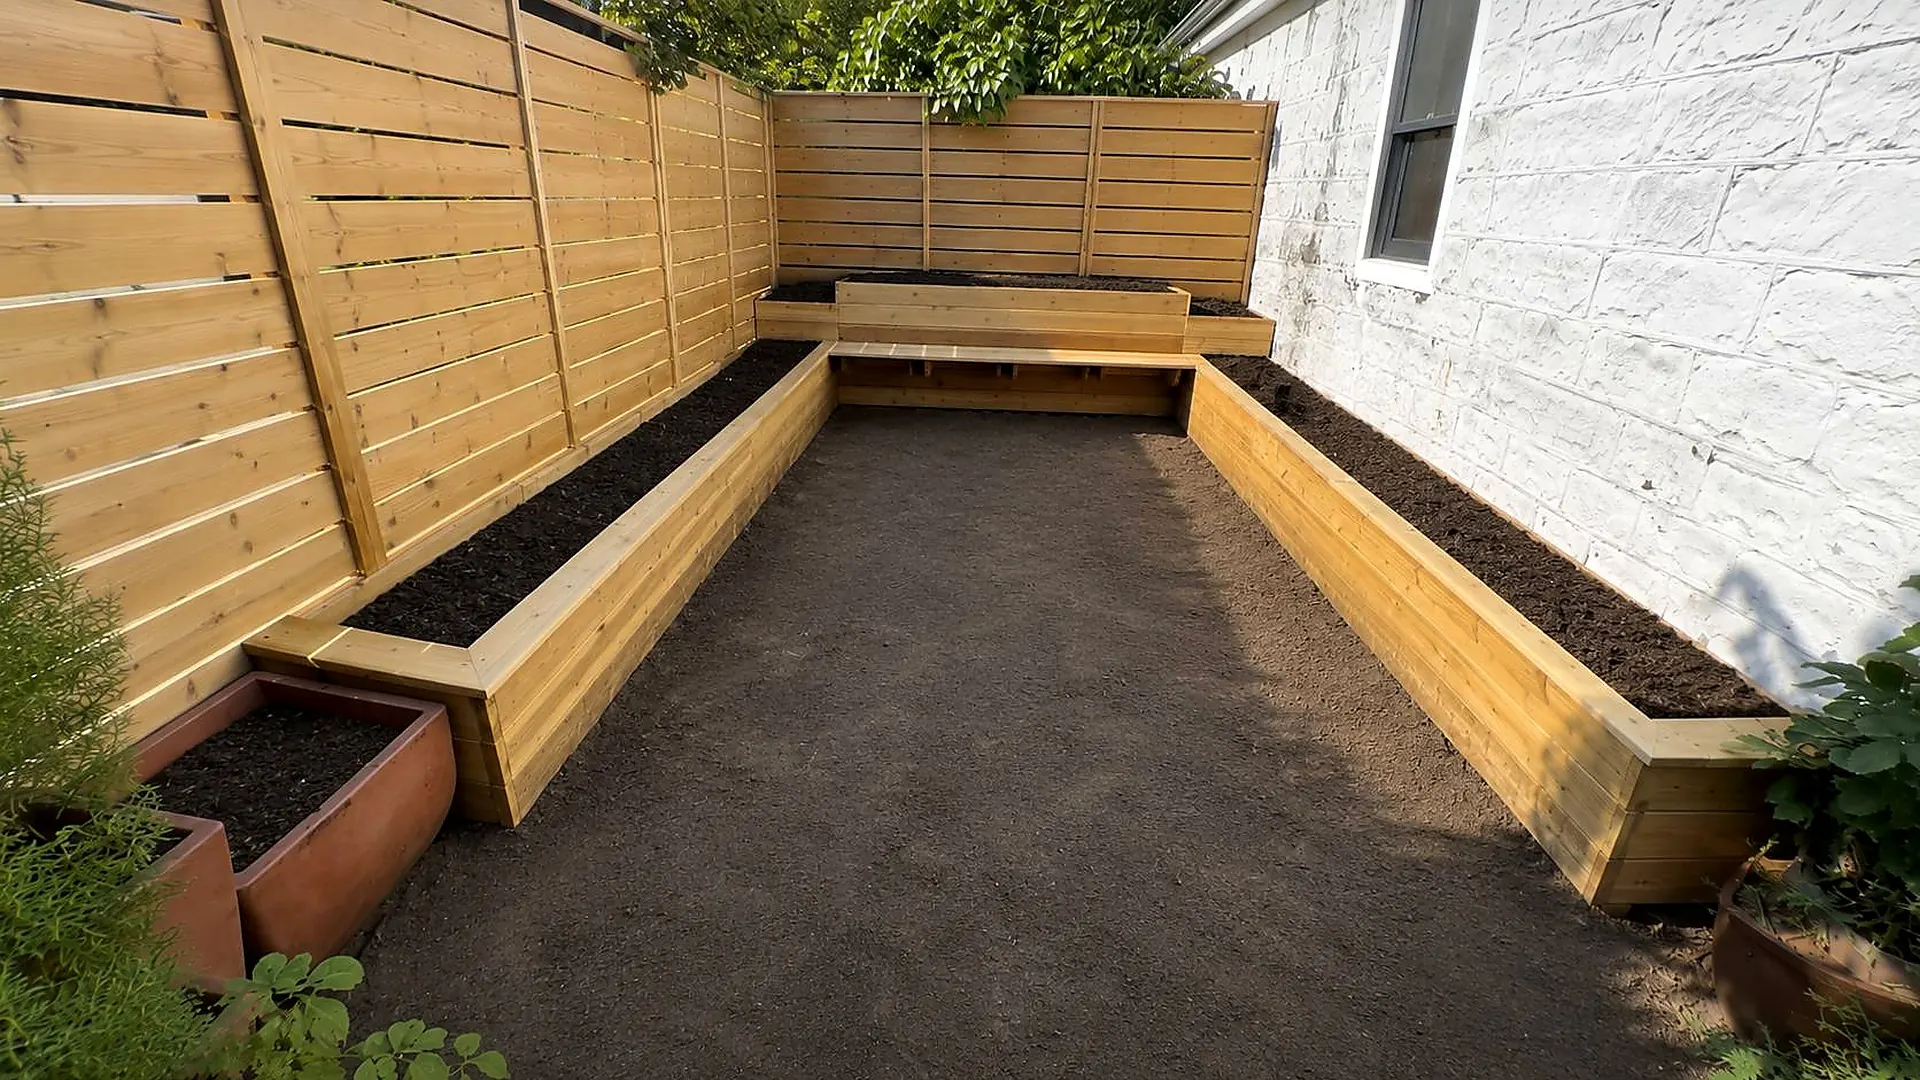
The yard started as a bare fenced dirt strip. After layout, field fitting, assembly, and cleanup, the space had a U-shaped wooden planter with an integrated bench.

A bare fenced dirt area was turned into a custom wooden planter with a built-in bench. Repair Asap followed client drawings, adjusted the board layout on site, and finished the planter with clean seating and soil-ready planting areas.
The first photos in the album are the true before condition: only the fenced dirt area was there, with no planter or bench installed yet.
The client provided the drawings, instructions, and prepared lumber. One technician matched the boards to the plan, set supports, fastened the walls, and corrected pieces that had been labeled or prepared incorrectly.
These photos show the strongest proof from the project: an empty dirt area, support layout and board assembly, then a finished wooden planter with integrated bench seating.
The yard started as a bare fenced dirt strip. After layout, field fitting, assembly, and cleanup, the space had a U-shaped wooden planter with an integrated bench.
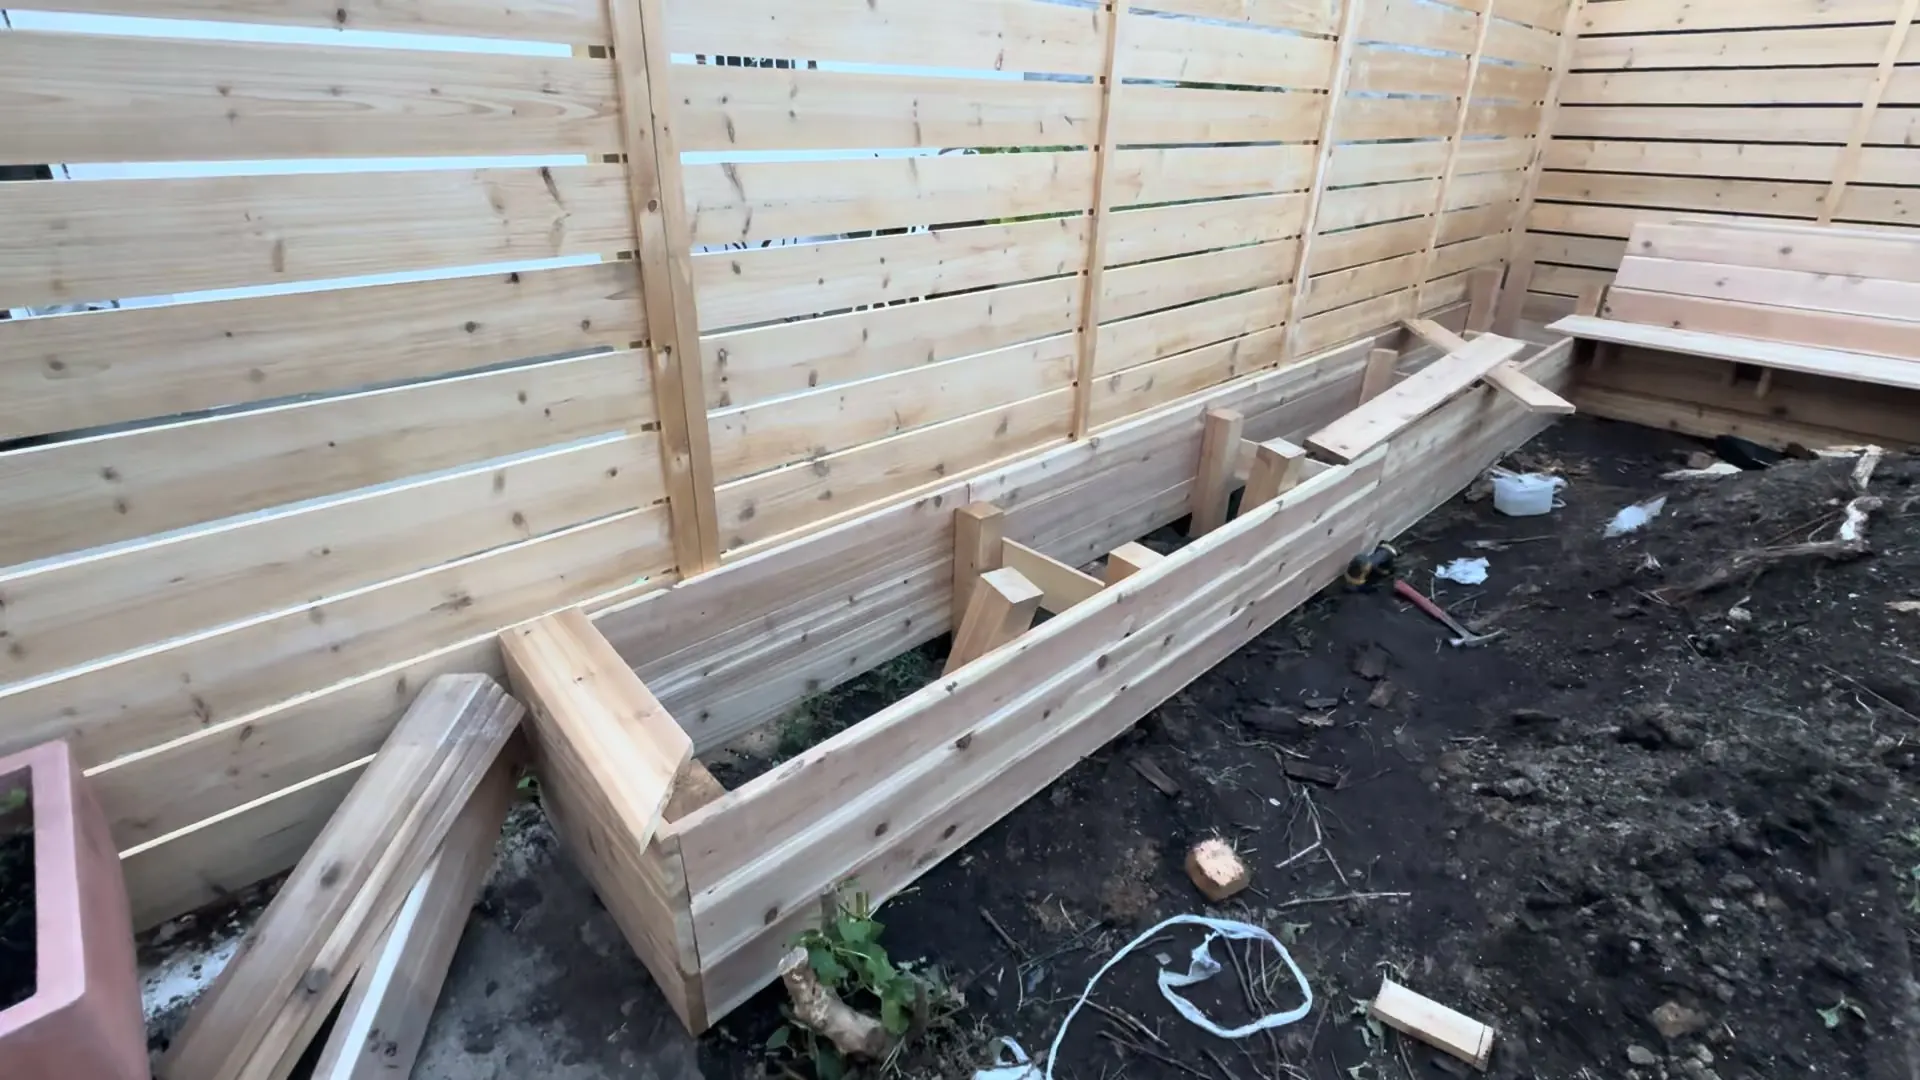
The prepared boards still needed on-site layout, support setting, fastening, and adjustment before the planter shell could be finished and filled.
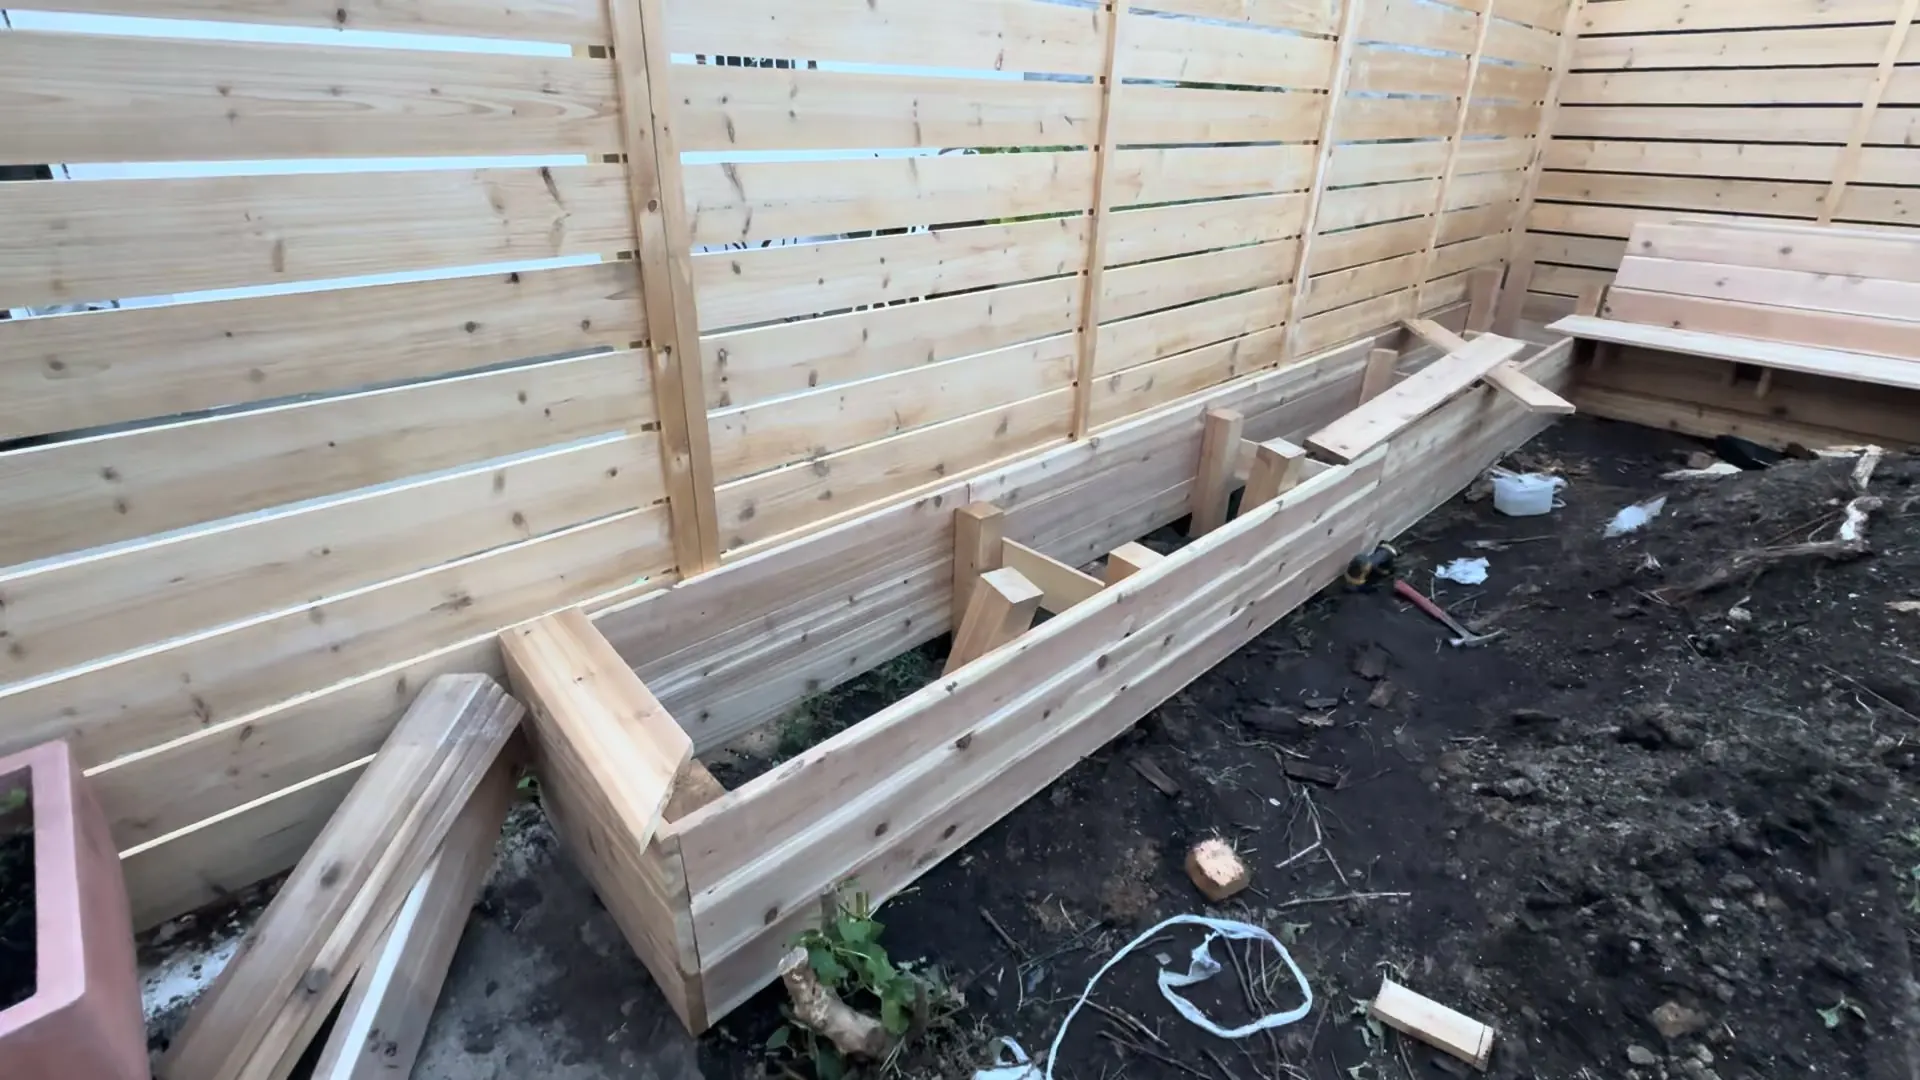
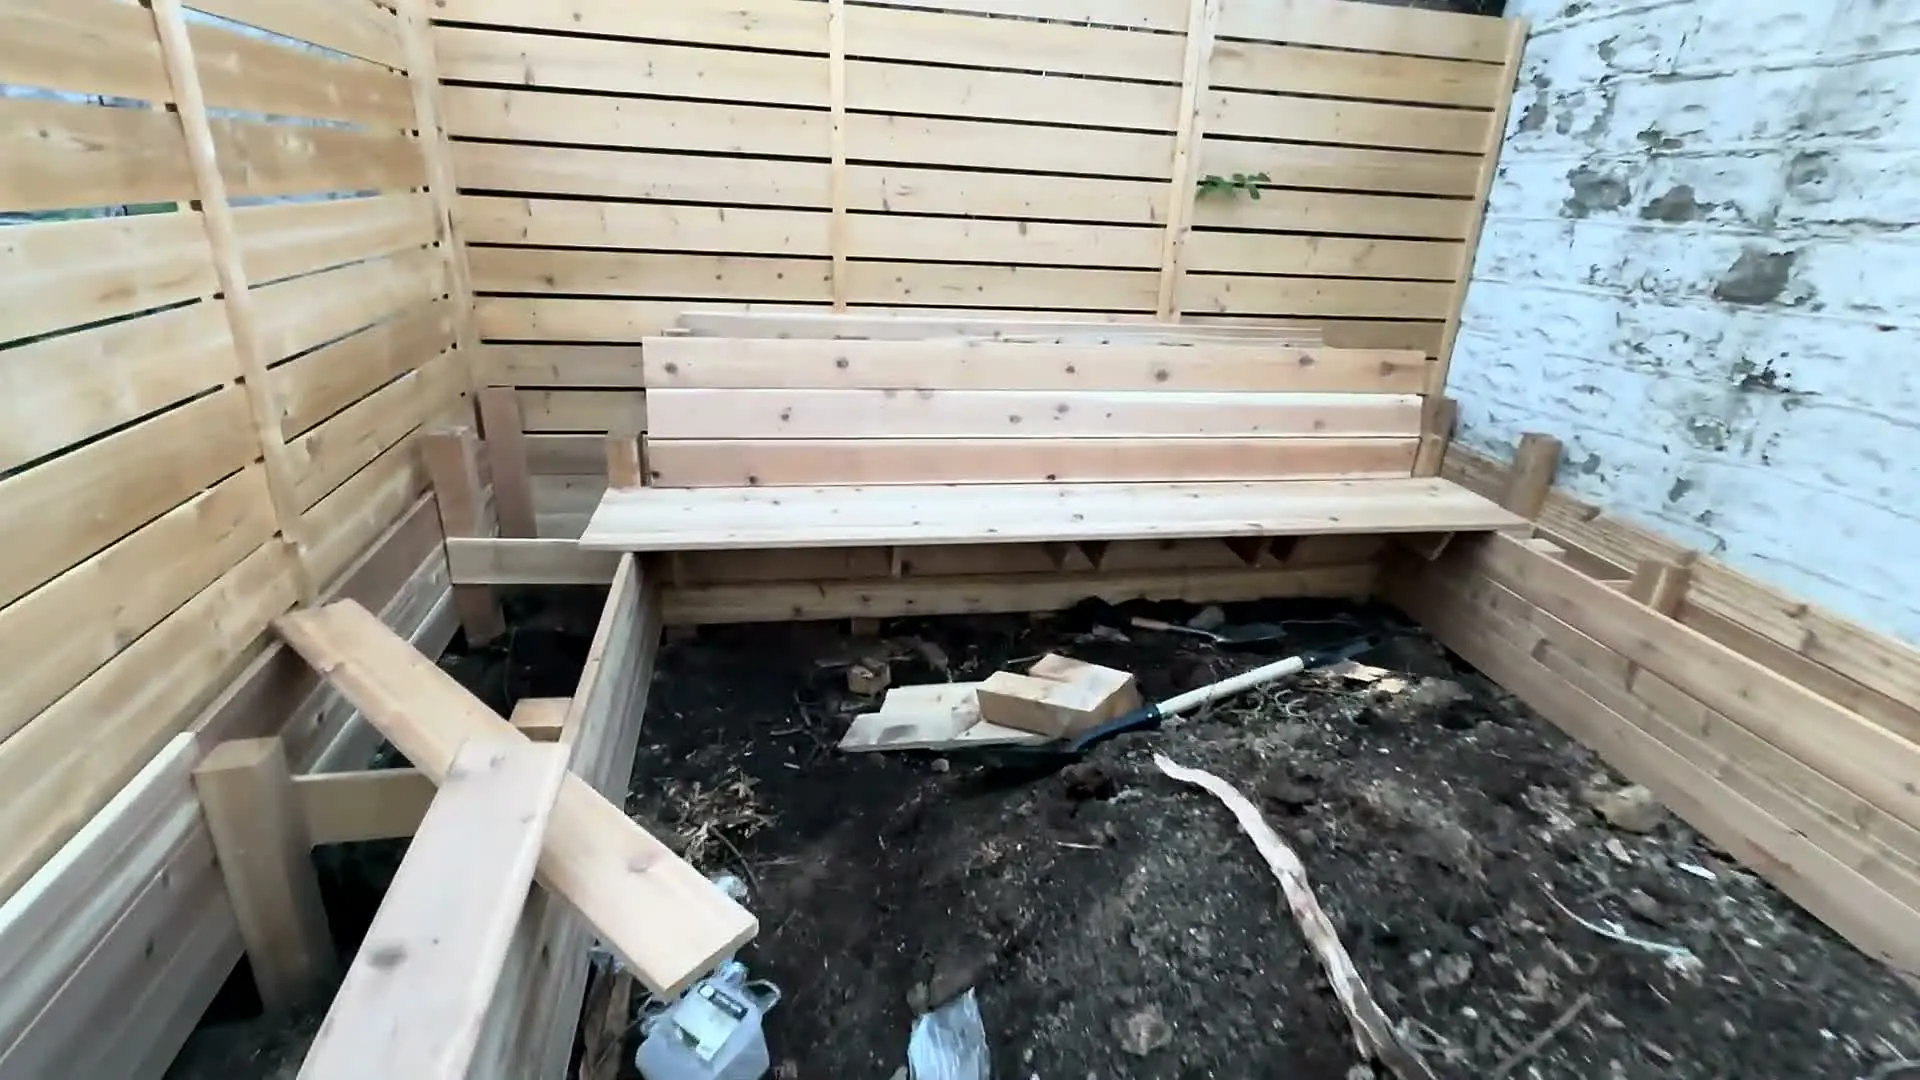
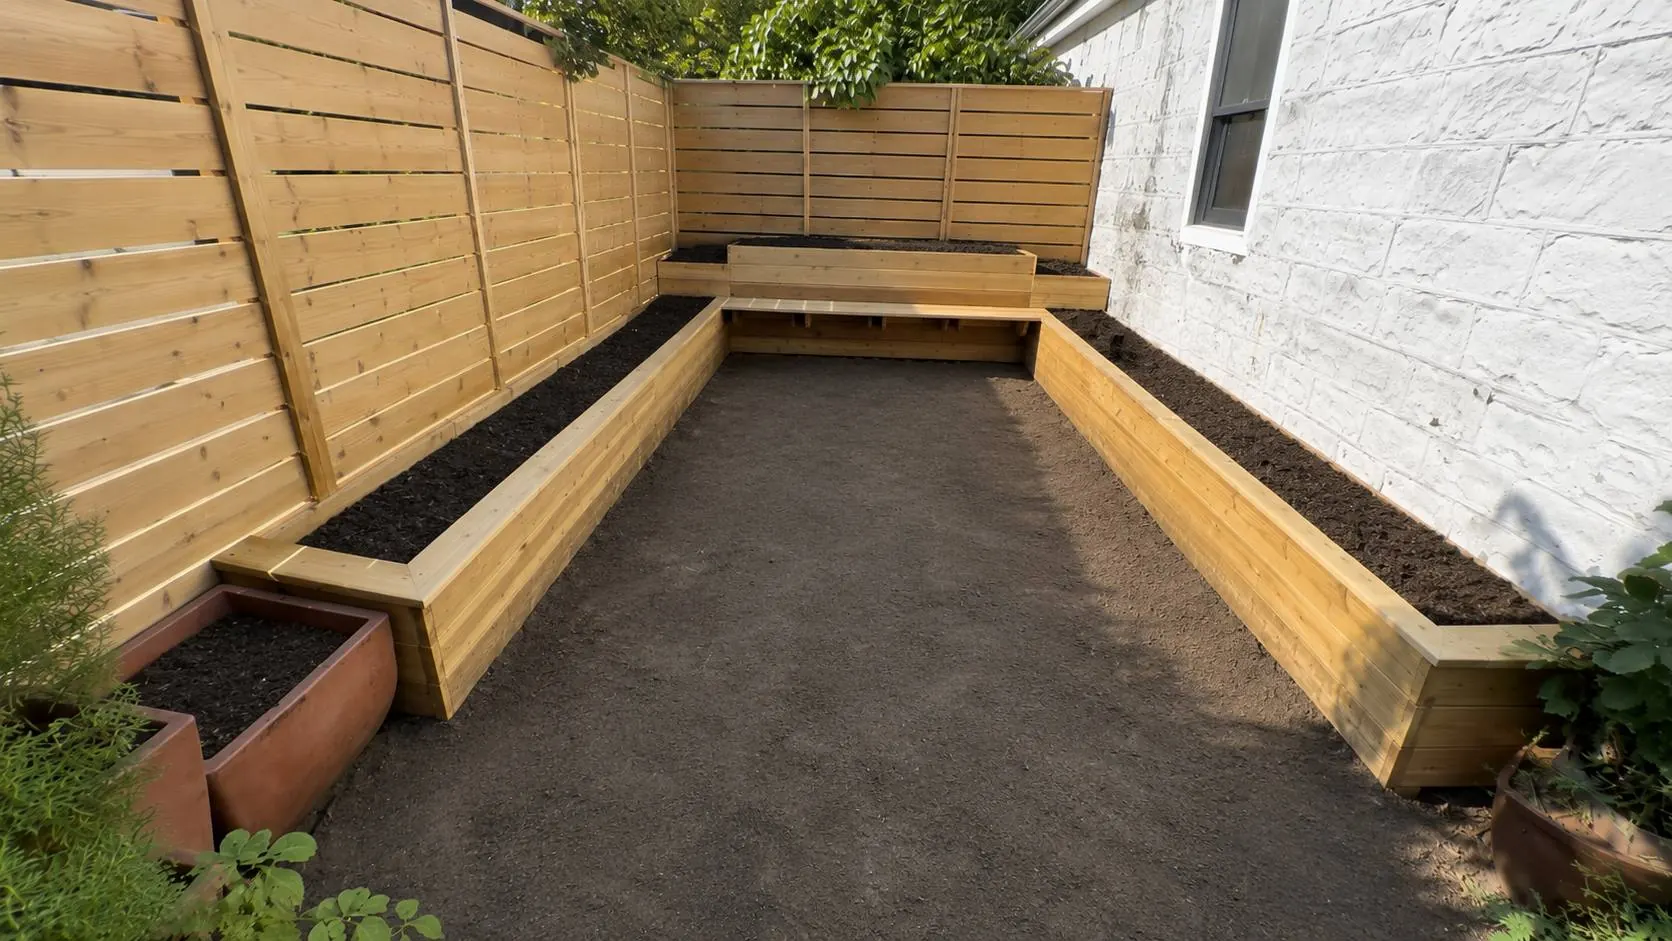
The bench was not a separate store-bought piece. It was fit into the planter structure after the boards and supports were aligned on site.
The project started as an empty fenced dirt strip along the back of the yard, with no planter, flower bed, or bench in place.
Before: the yard was only a dirt area inside the fence, with no planter or bench yet.
Assembly started with supports and planter boards, following the client drawings and instructions.
Several prepared boards had to be adjusted or refit because labels/prep did not match the plan.
The bench was installed last by the same technician, and the best final views were selected from the last videos.
Assembly progressed from setting supports and fastening boards to the planter shell standing around the soil before final cleanup.
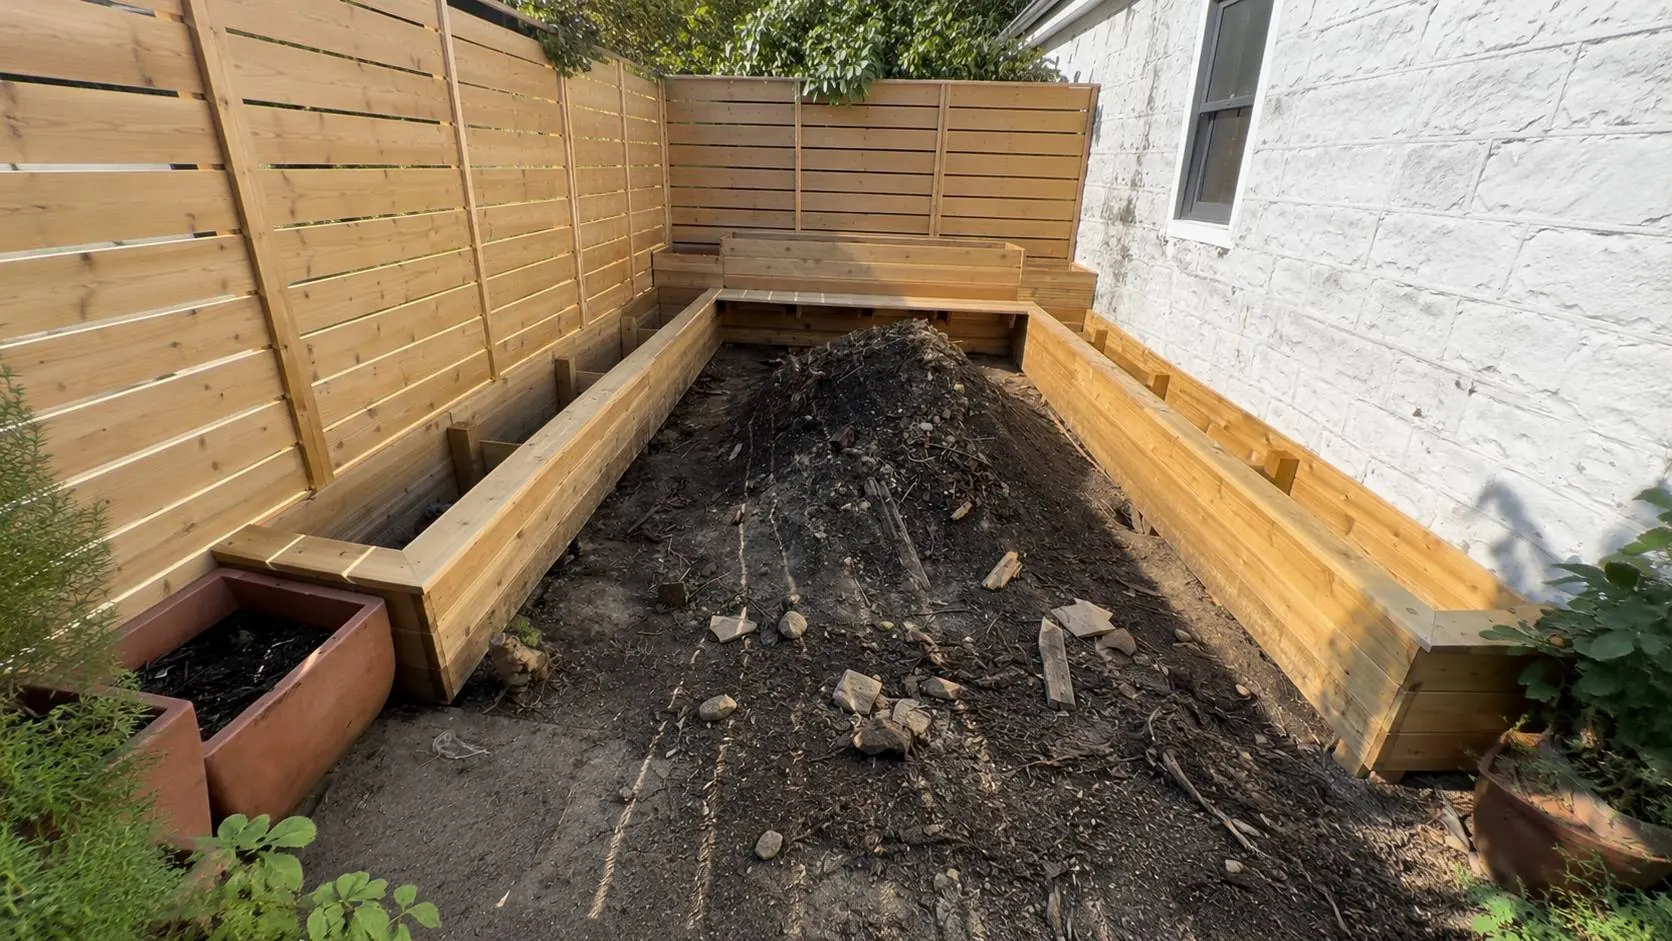
The project looks simple only after completion. In practice, the photos show a full sequence from bare ground to layout, support setting, board fastening, board rework, and final bench installation.
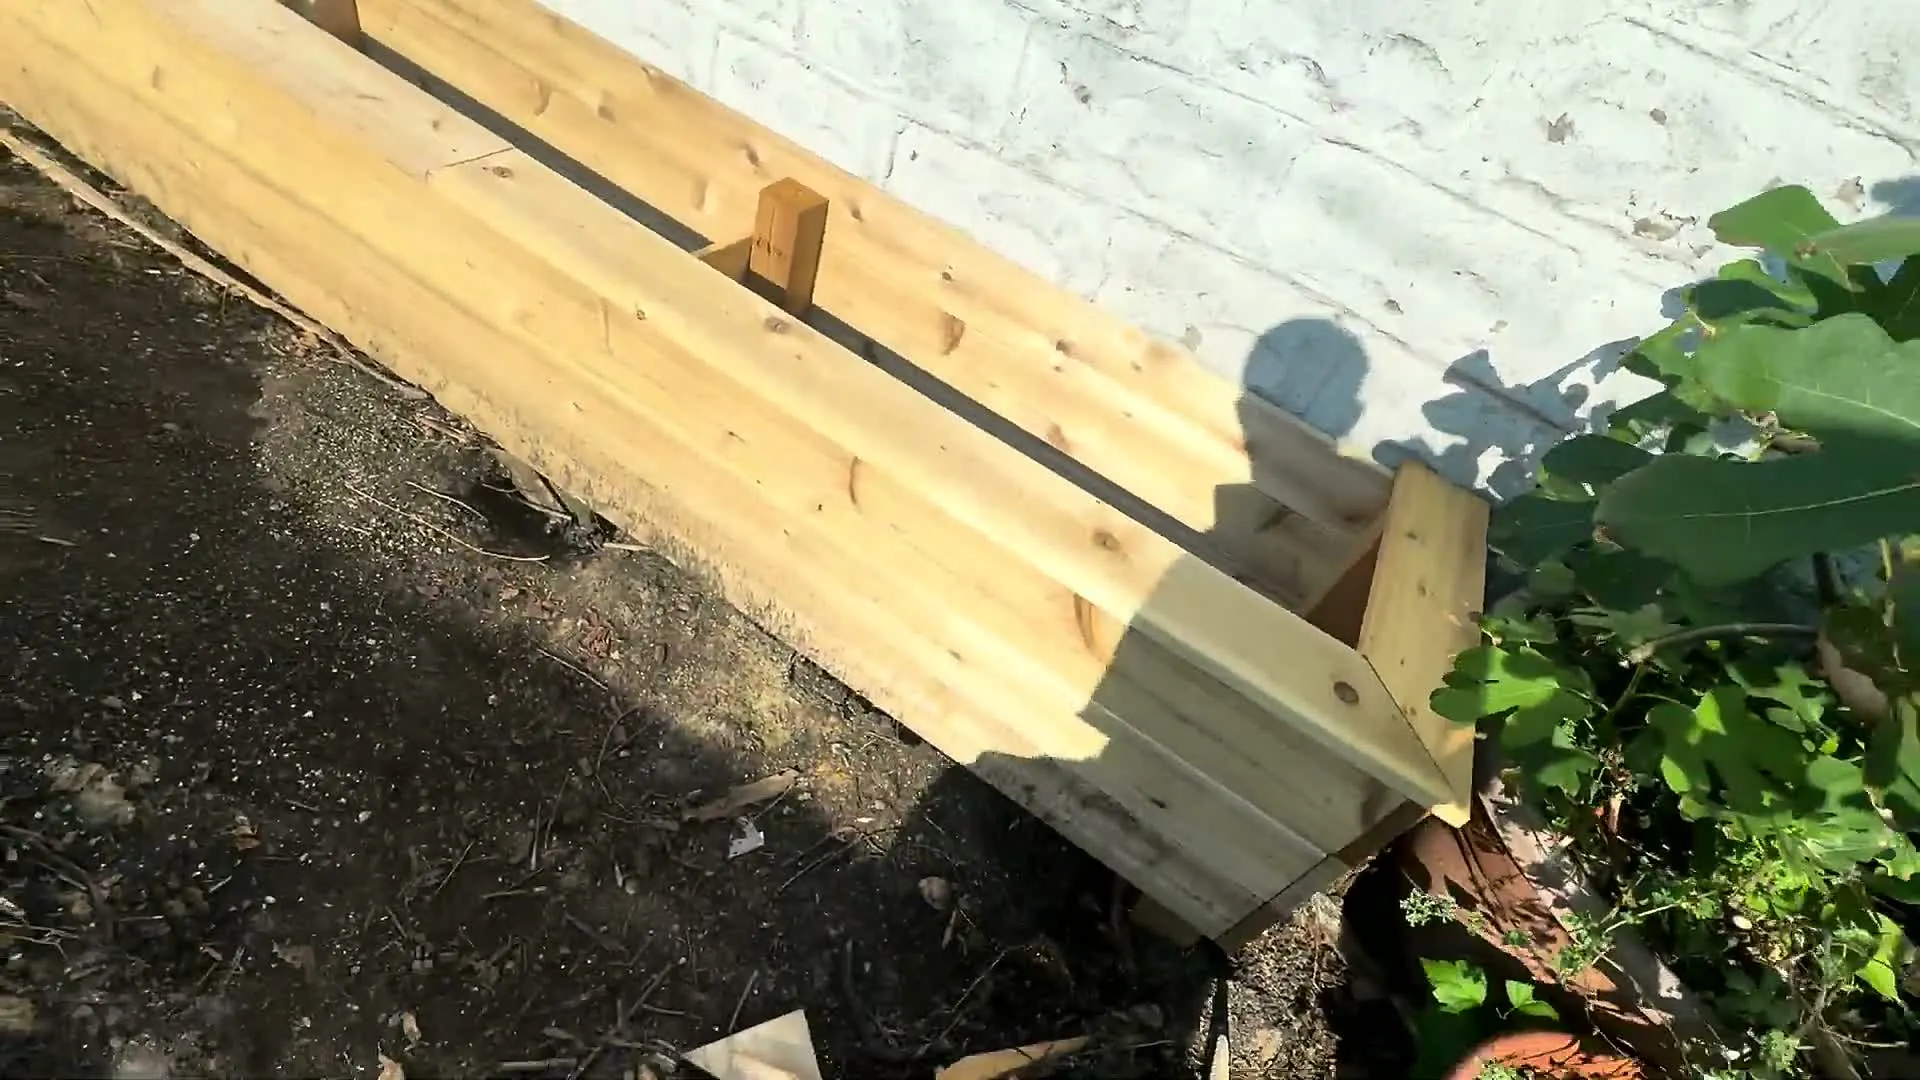
The strongest final photo now shows the cleaned planter bench as a usable outdoor seating area, while the detail frames document the bench fit and corner joinery.
Final photos show the completed planter bench after cleanup, with close-ups of the bench seat and corner joinery.
This project connects to Repair ASAP service areas for assembly, general repairs, and custom handyman work.
Yes, many custom assembly projects can start from client drawings, photos, measurements, or a materials list. The estimate depends on how complete the drawings are, whether materials are supplied, and how much field adjustment is needed on site.
Send photos of the area, rough measurements, drawings or sketches, preferred materials, access details, and any deadline. If you already have boards or a kit, include photos of the parts and instructions so the scope can be reviewed accurately.
They can help, but they do not remove the need for layout checks and field fitting. On this project some prepared pieces still needed adjustment because labels or prep did not match the plan exactly.
Often yes. Small layout conflicts, board sequence issues, or fit problems can usually be corrected on site, but the time and cost depend on the amount of rework and the tools/materials needed.
Outdoor wood is exposed to water, soil, and seasonal movement, so sealing or using appropriate exterior-rated material is usually recommended. The right finish depends on the wood, desired look, and how the planter will be used.
Send photos, drawings, measurements, or project notes and Repair ASAP can help plan the next step.