The studio corner, before and after
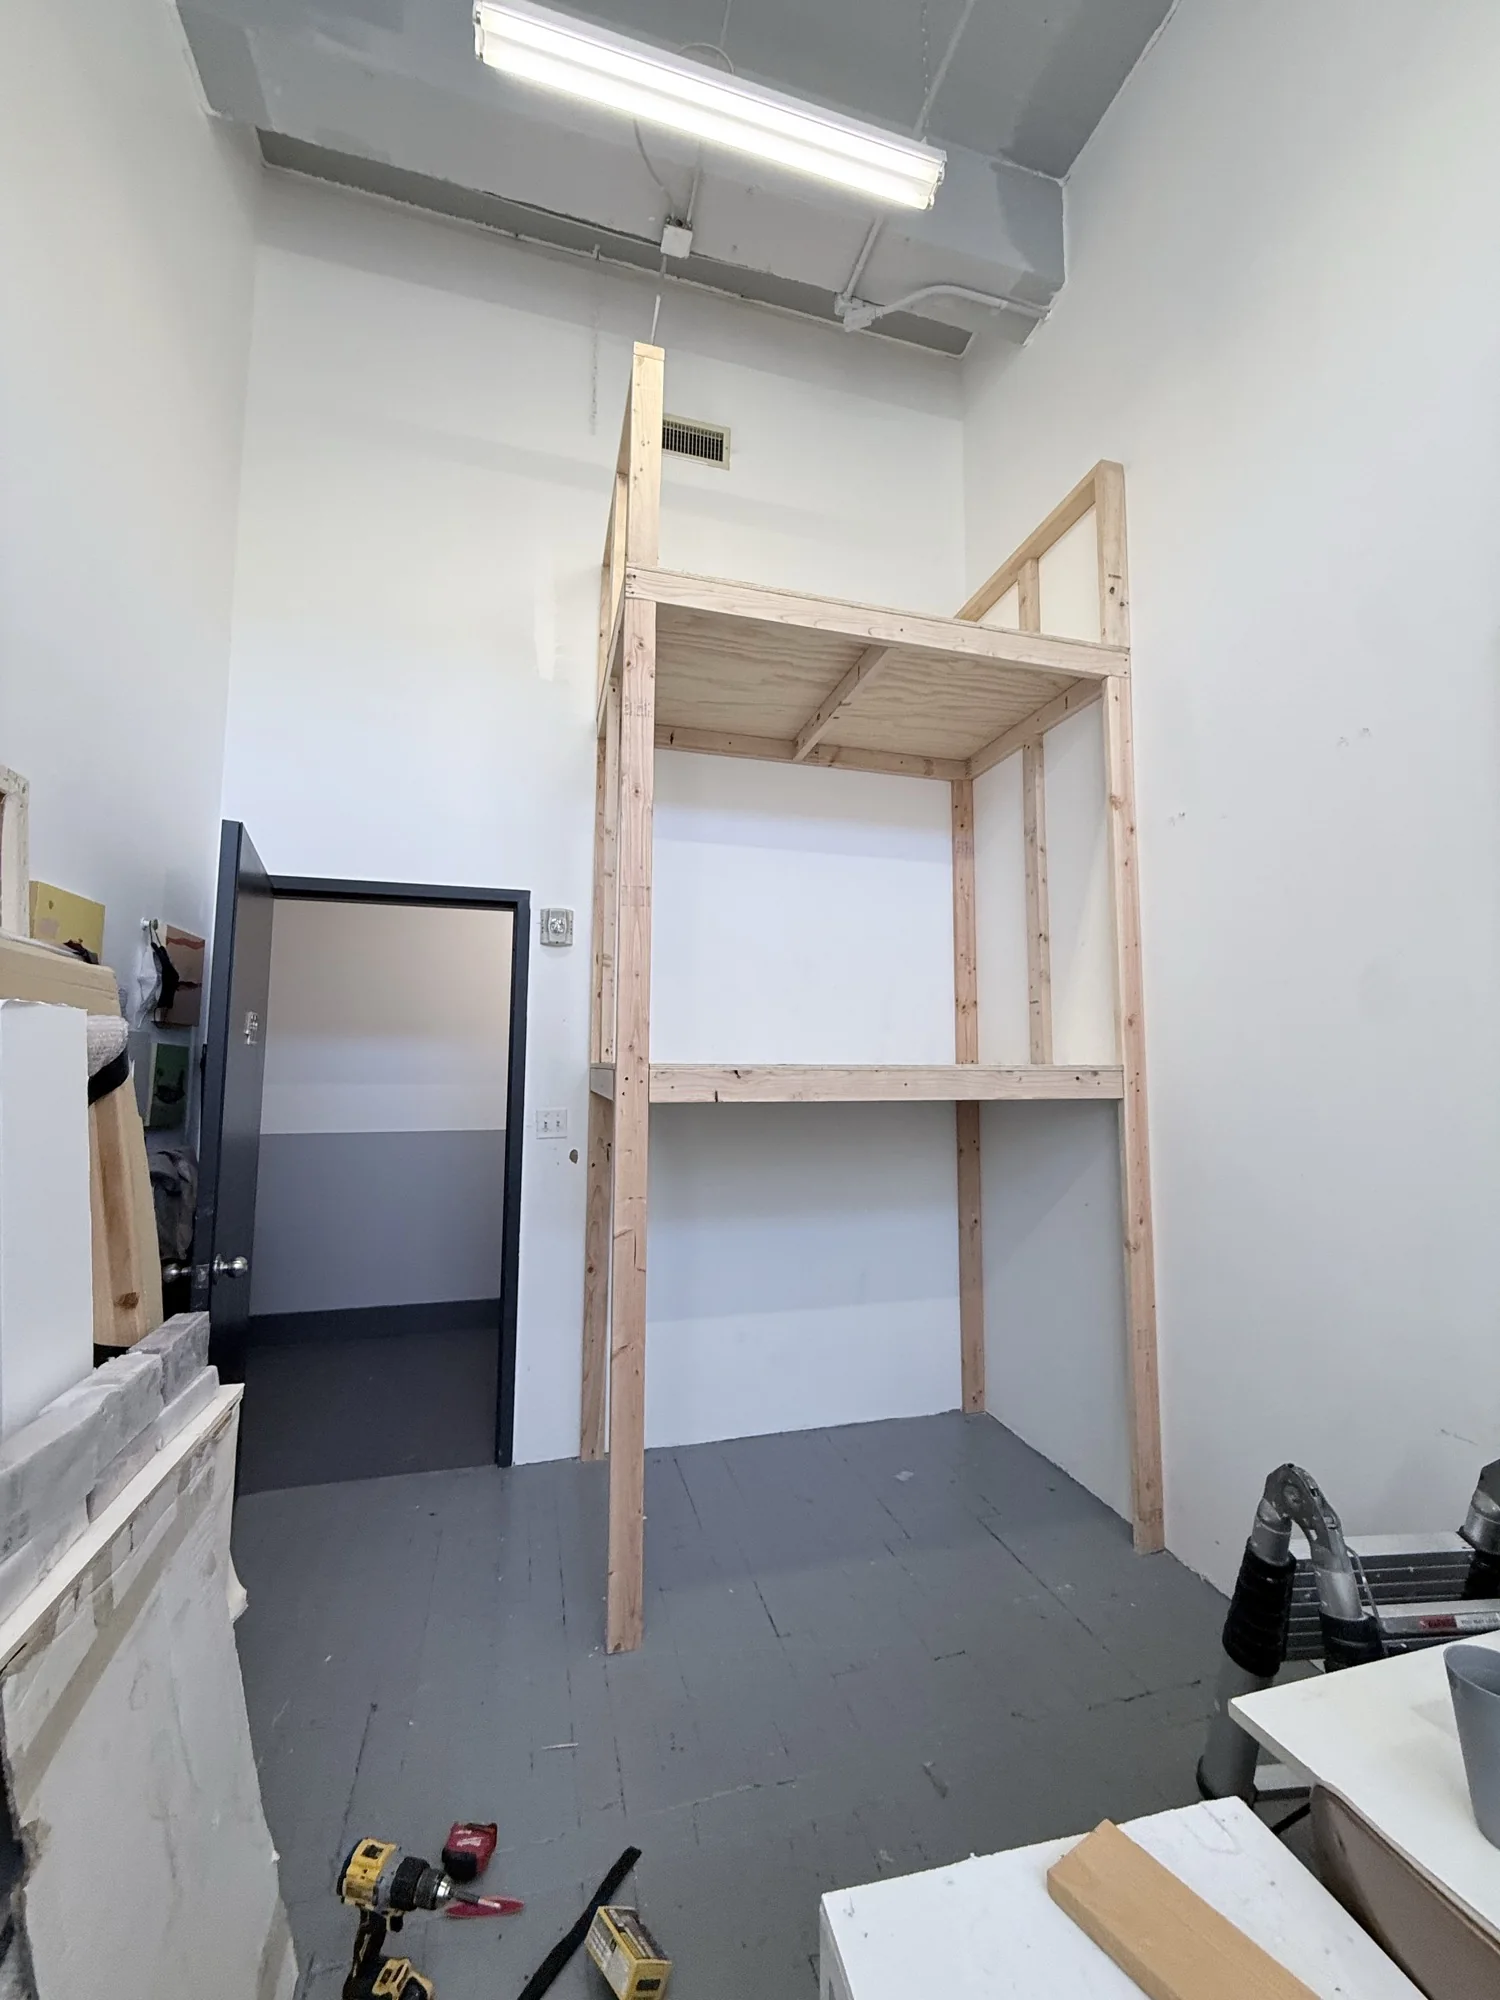
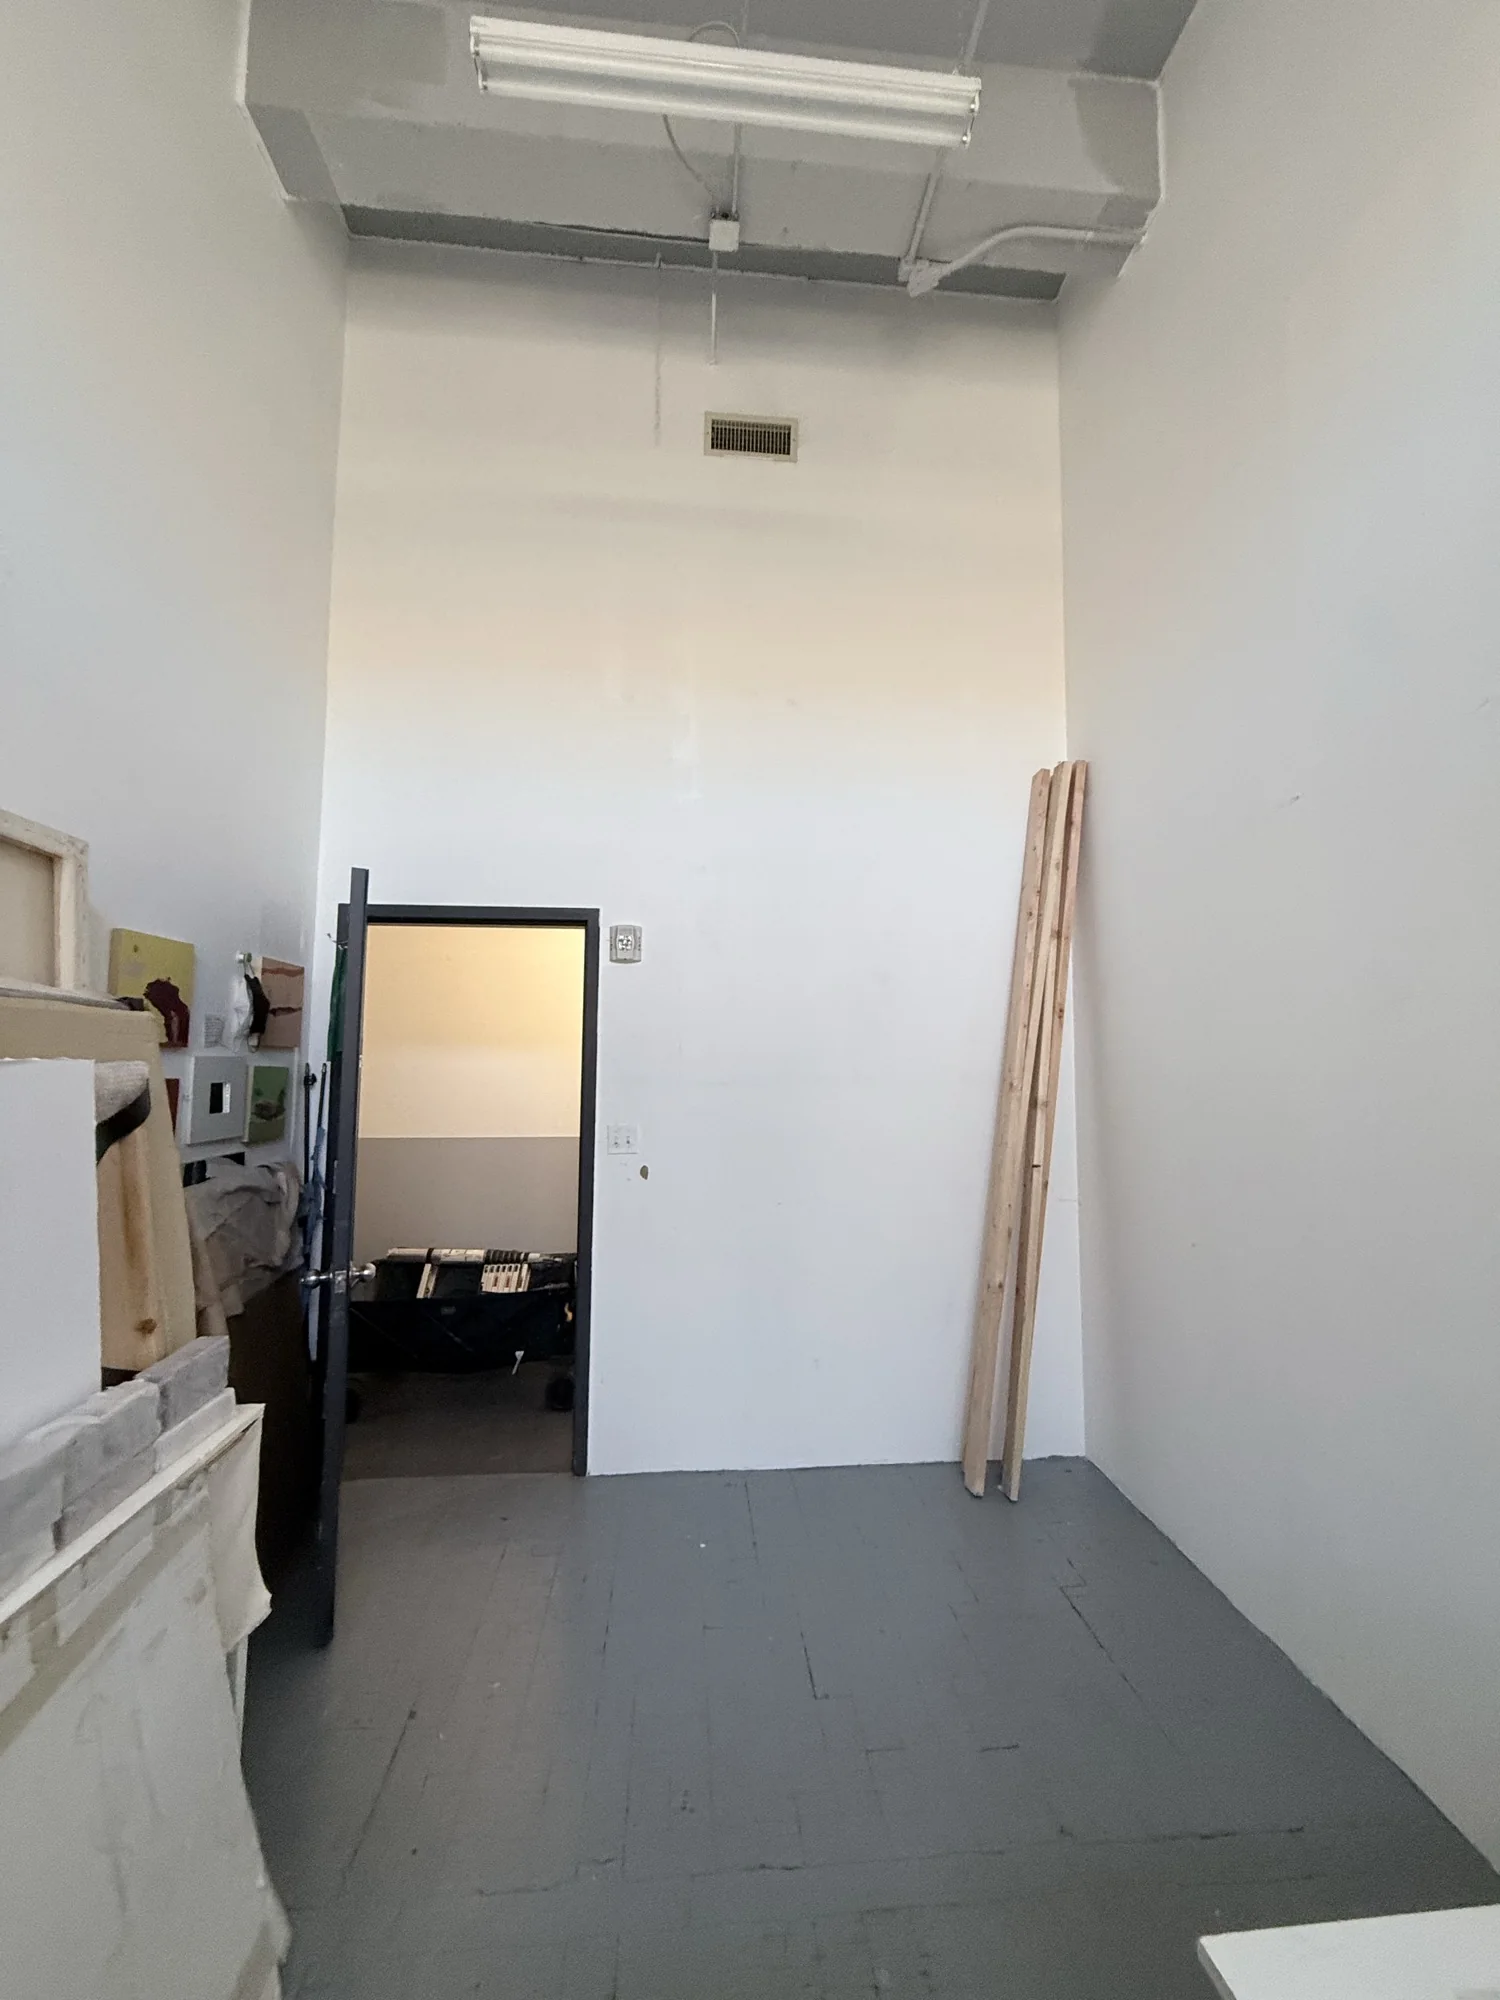
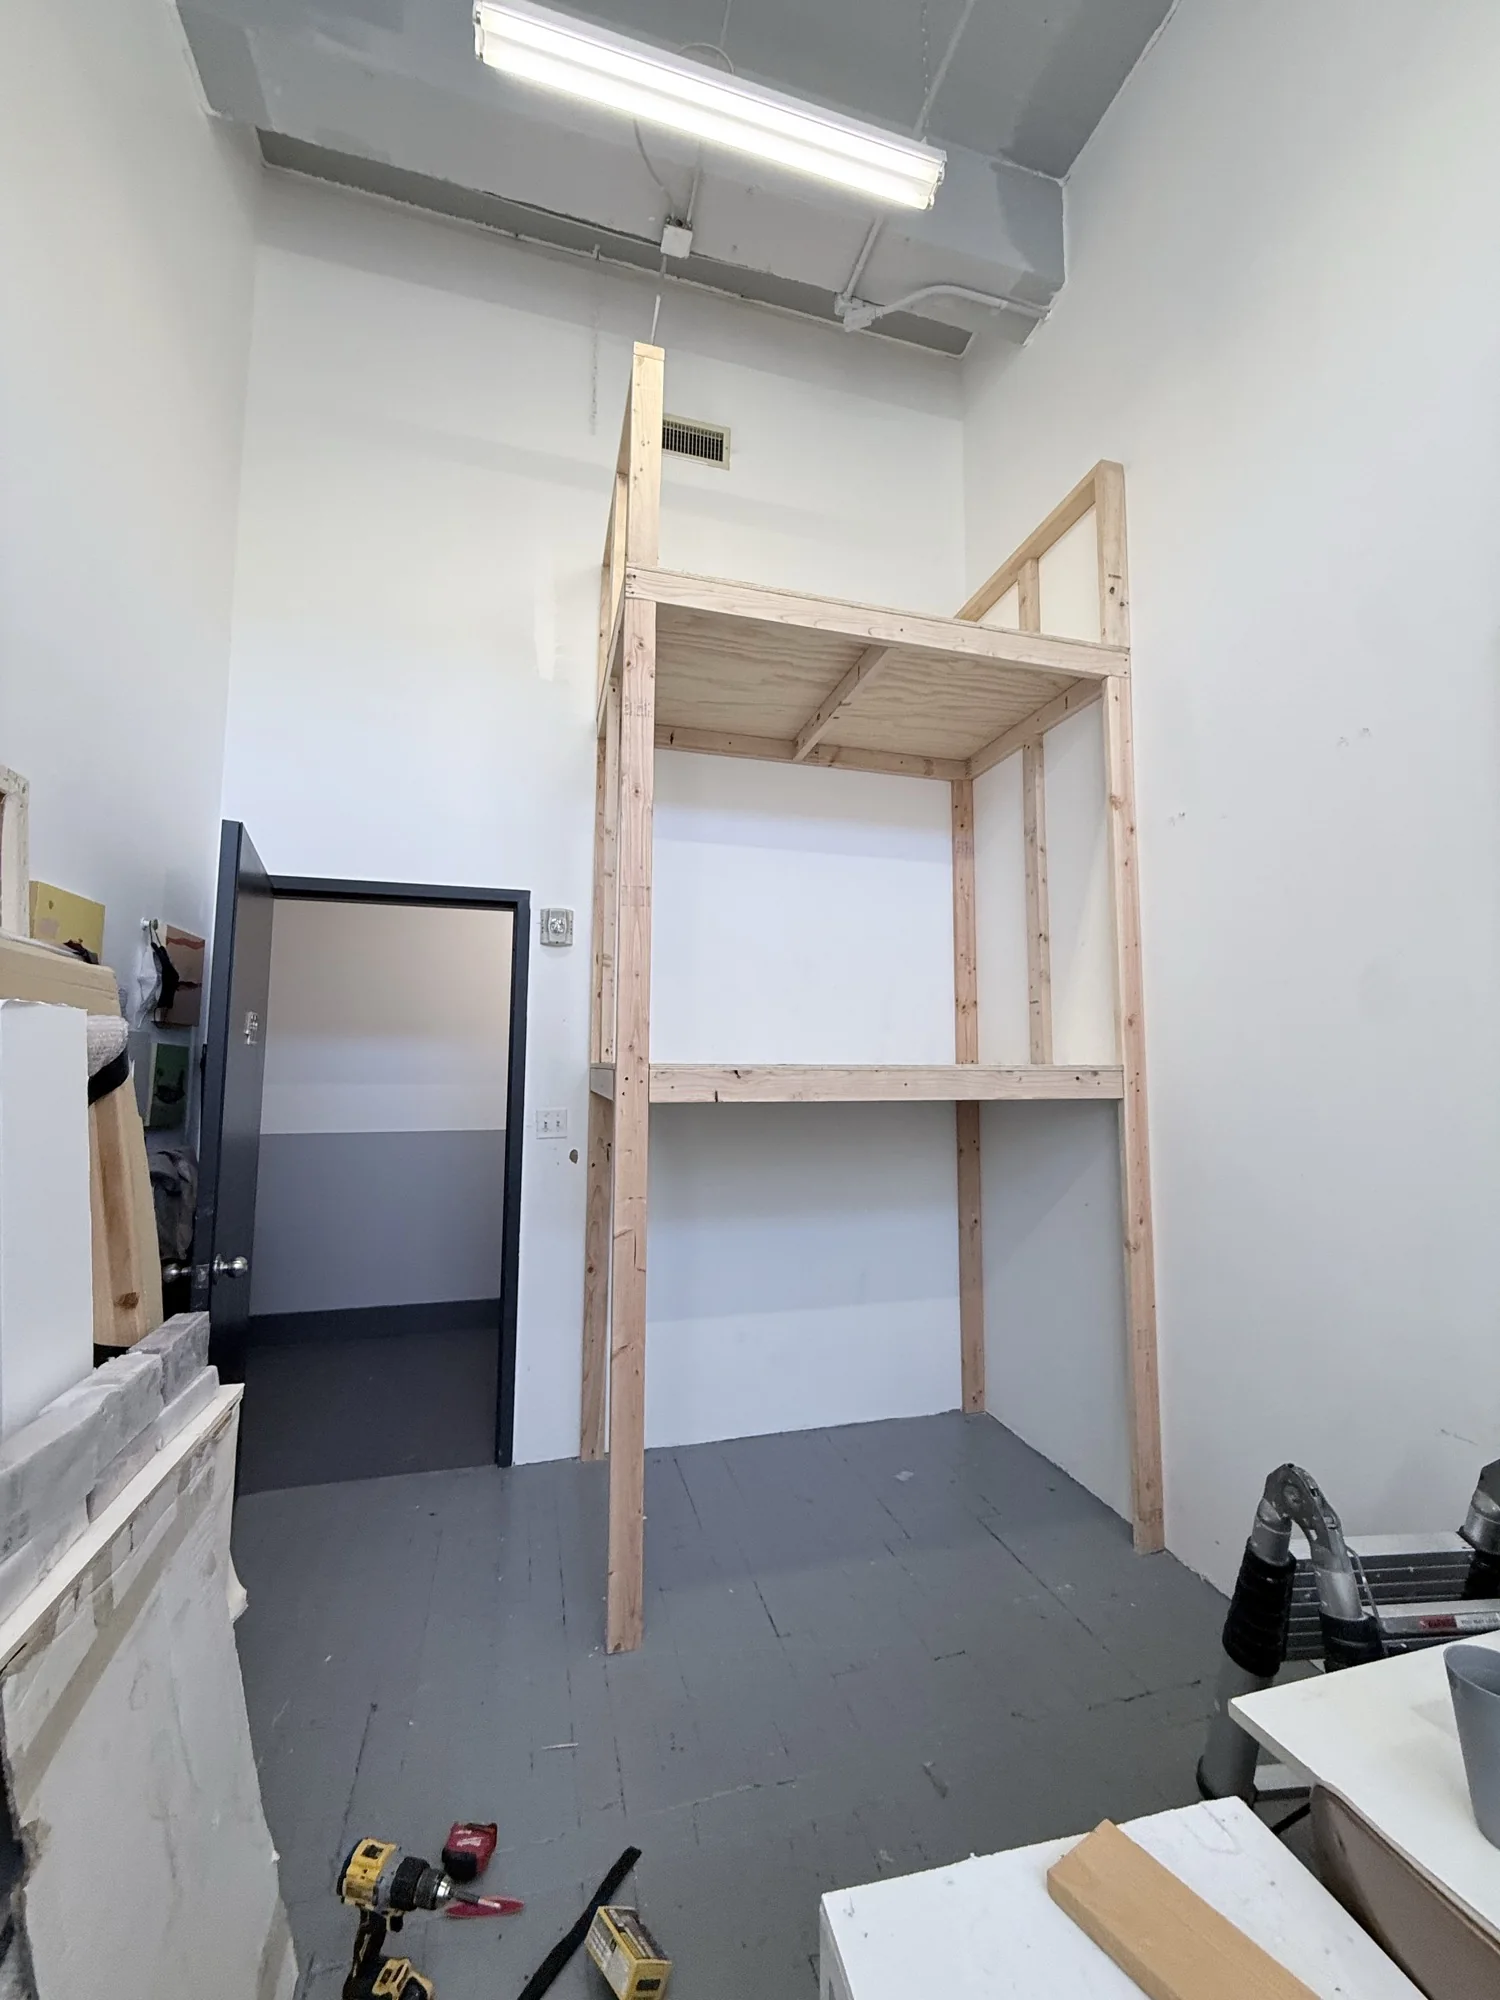
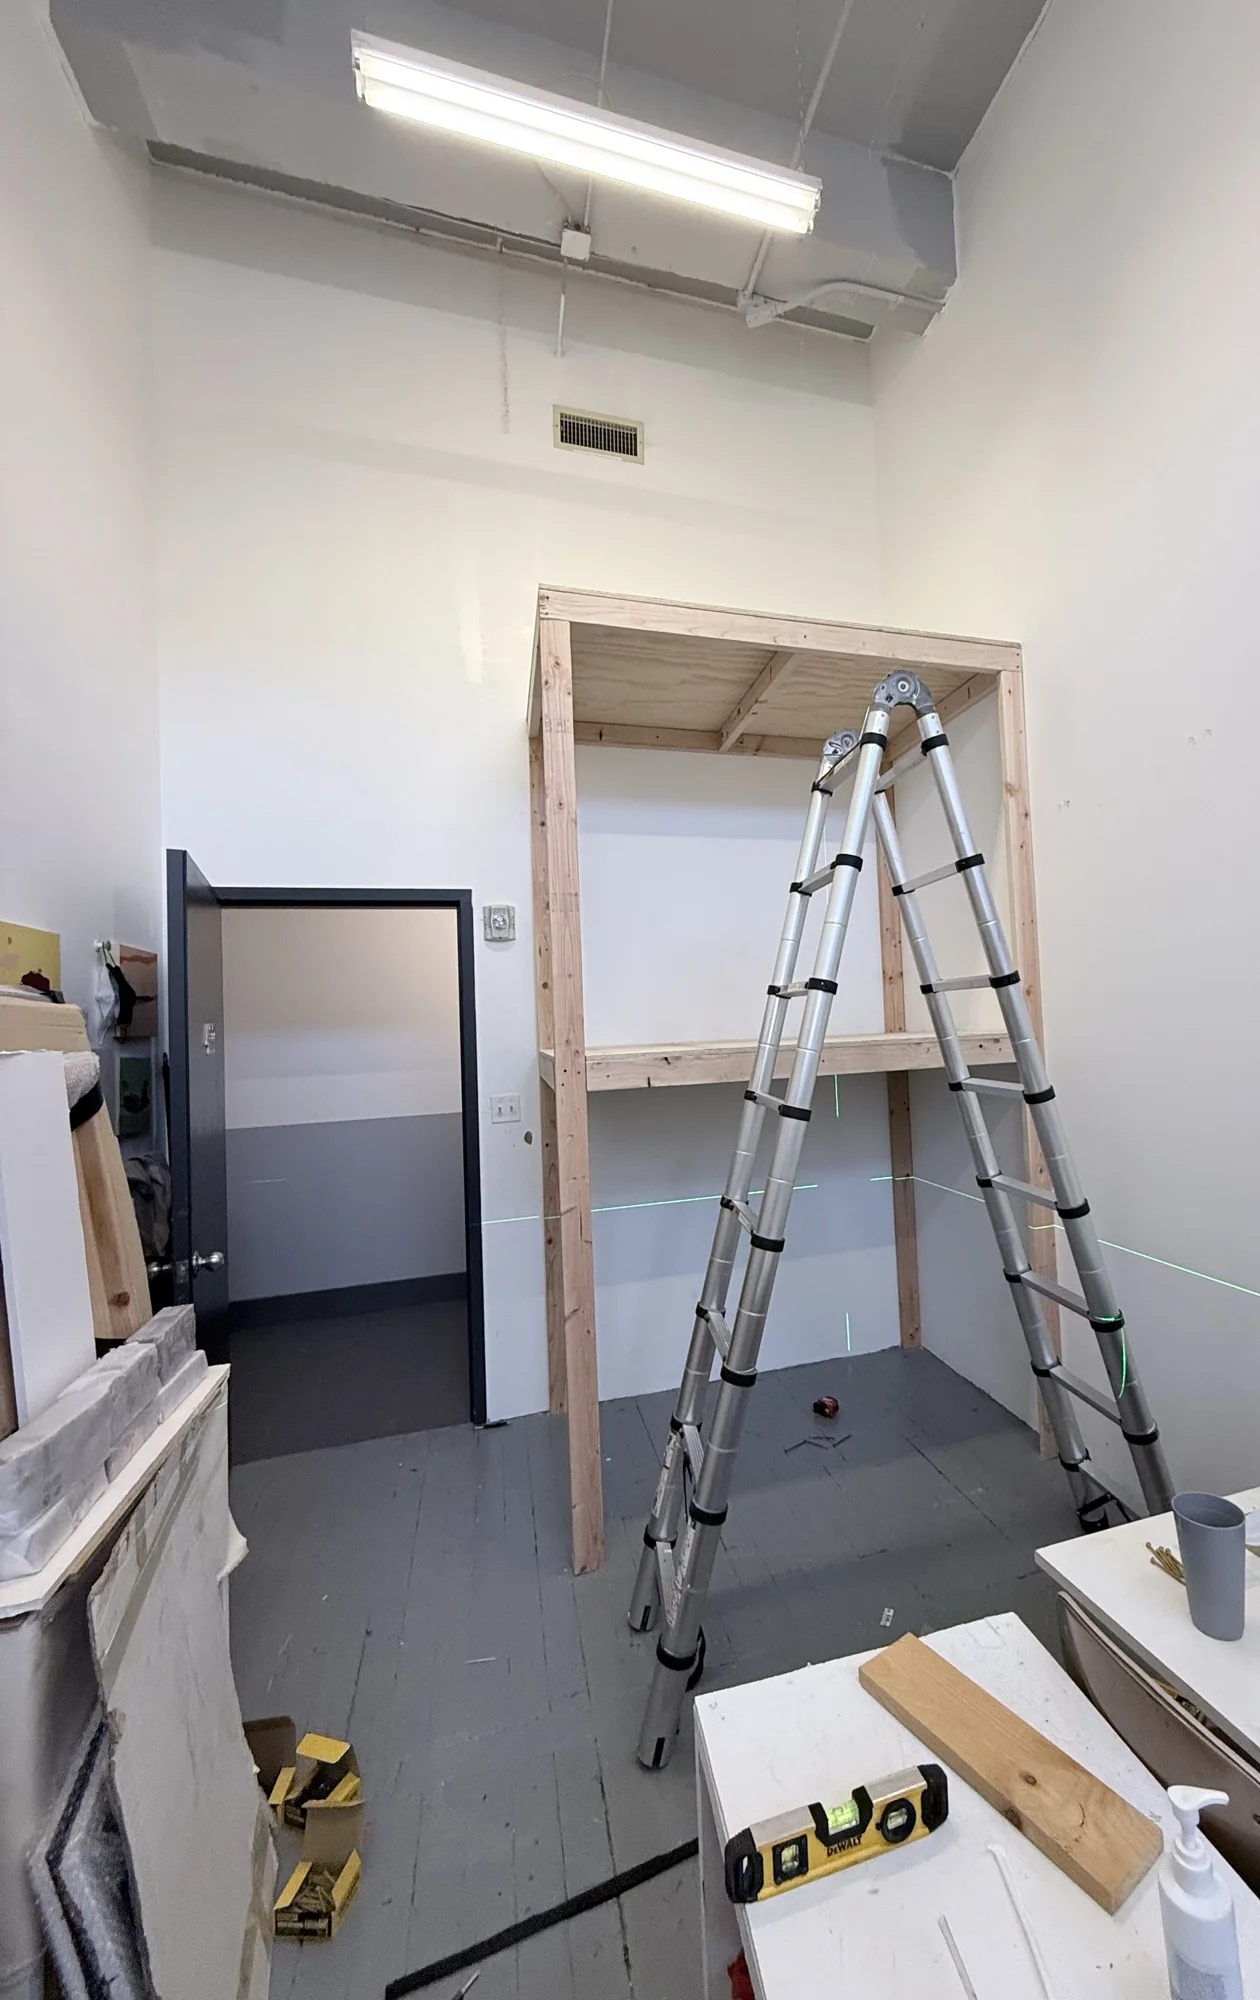
Drag the slider: the same corner, a few hours apart. The first posts are leaning against the wall on the left; on the right the rack is assembled, leveled and fastened to the walls.

An artist's studio in Astoria needed a place to stand large paintings upright and still reach them. Repair ASAP modeled a 68 x 42 x 142 inch open rack in 3D, pre-cut every part, and assembled it in the studio in one afternoon, fastened to the walls.
The studio is a tall room with painted floors and a free corner next to the door. Finished and in-progress work was leaning against walls and furniture, which is hard on the paintings and makes any one of them hard to get to.
The brief was specific: open storage, mostly for work stored upright, sized around pieces of roughly 48 by 48 inches, using the height of the room and leaving every level reachable.
Drag the handle to compare — the same corner of the studio before the build and with the finished rack in place.
Drag the slider: the same corner, a few hours apart. The first posts are leaning against the wall on the left; on the right the rack is assembled, leveled and fastened to the walls.
A clear floor, tall walls, and the first full-length posts waiting to go up.
The project started as a sketch and became a 3D model. The model fixed every dimension — 68 inches wide, 42 deep, 142 tall — and checked the details that are expensive to discover on site: how the upper shelf frame sits on the posts, where each joint goes, and the order of assembly. It also produced the drawings, the parts list and the cutting plan.
On build day the lumber and plywood were bought in the morning and cut to the list, so what arrived in the studio was a stack of finished parts rather than raw boards. The long posts are single ten-foot pieces with no joints; the rest came out of eight-foot stock.
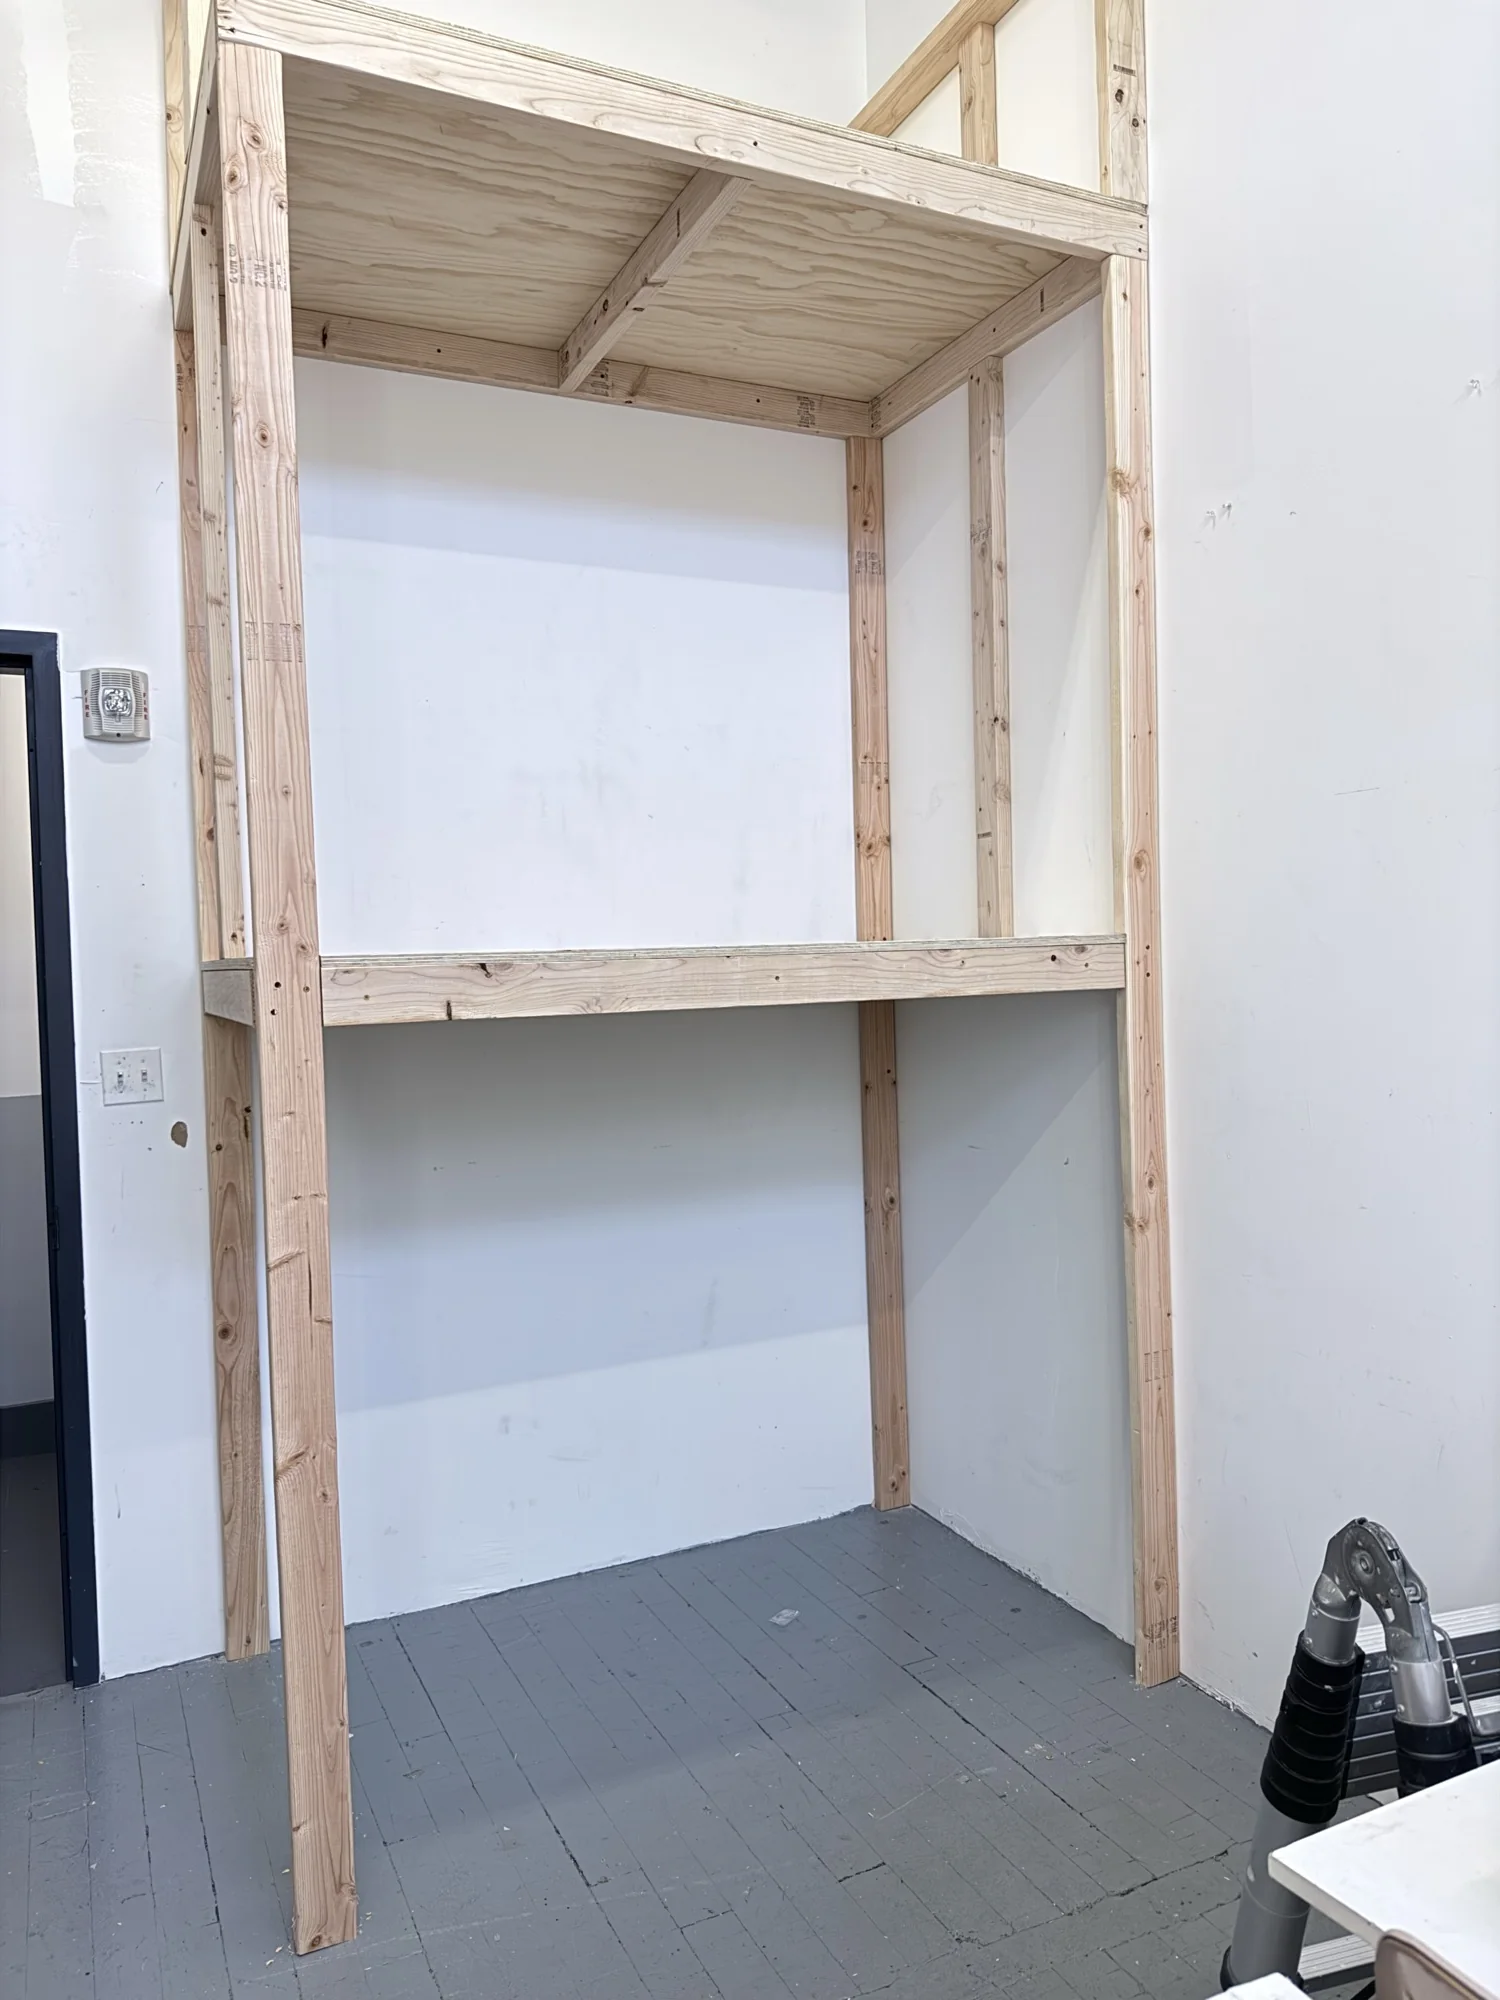
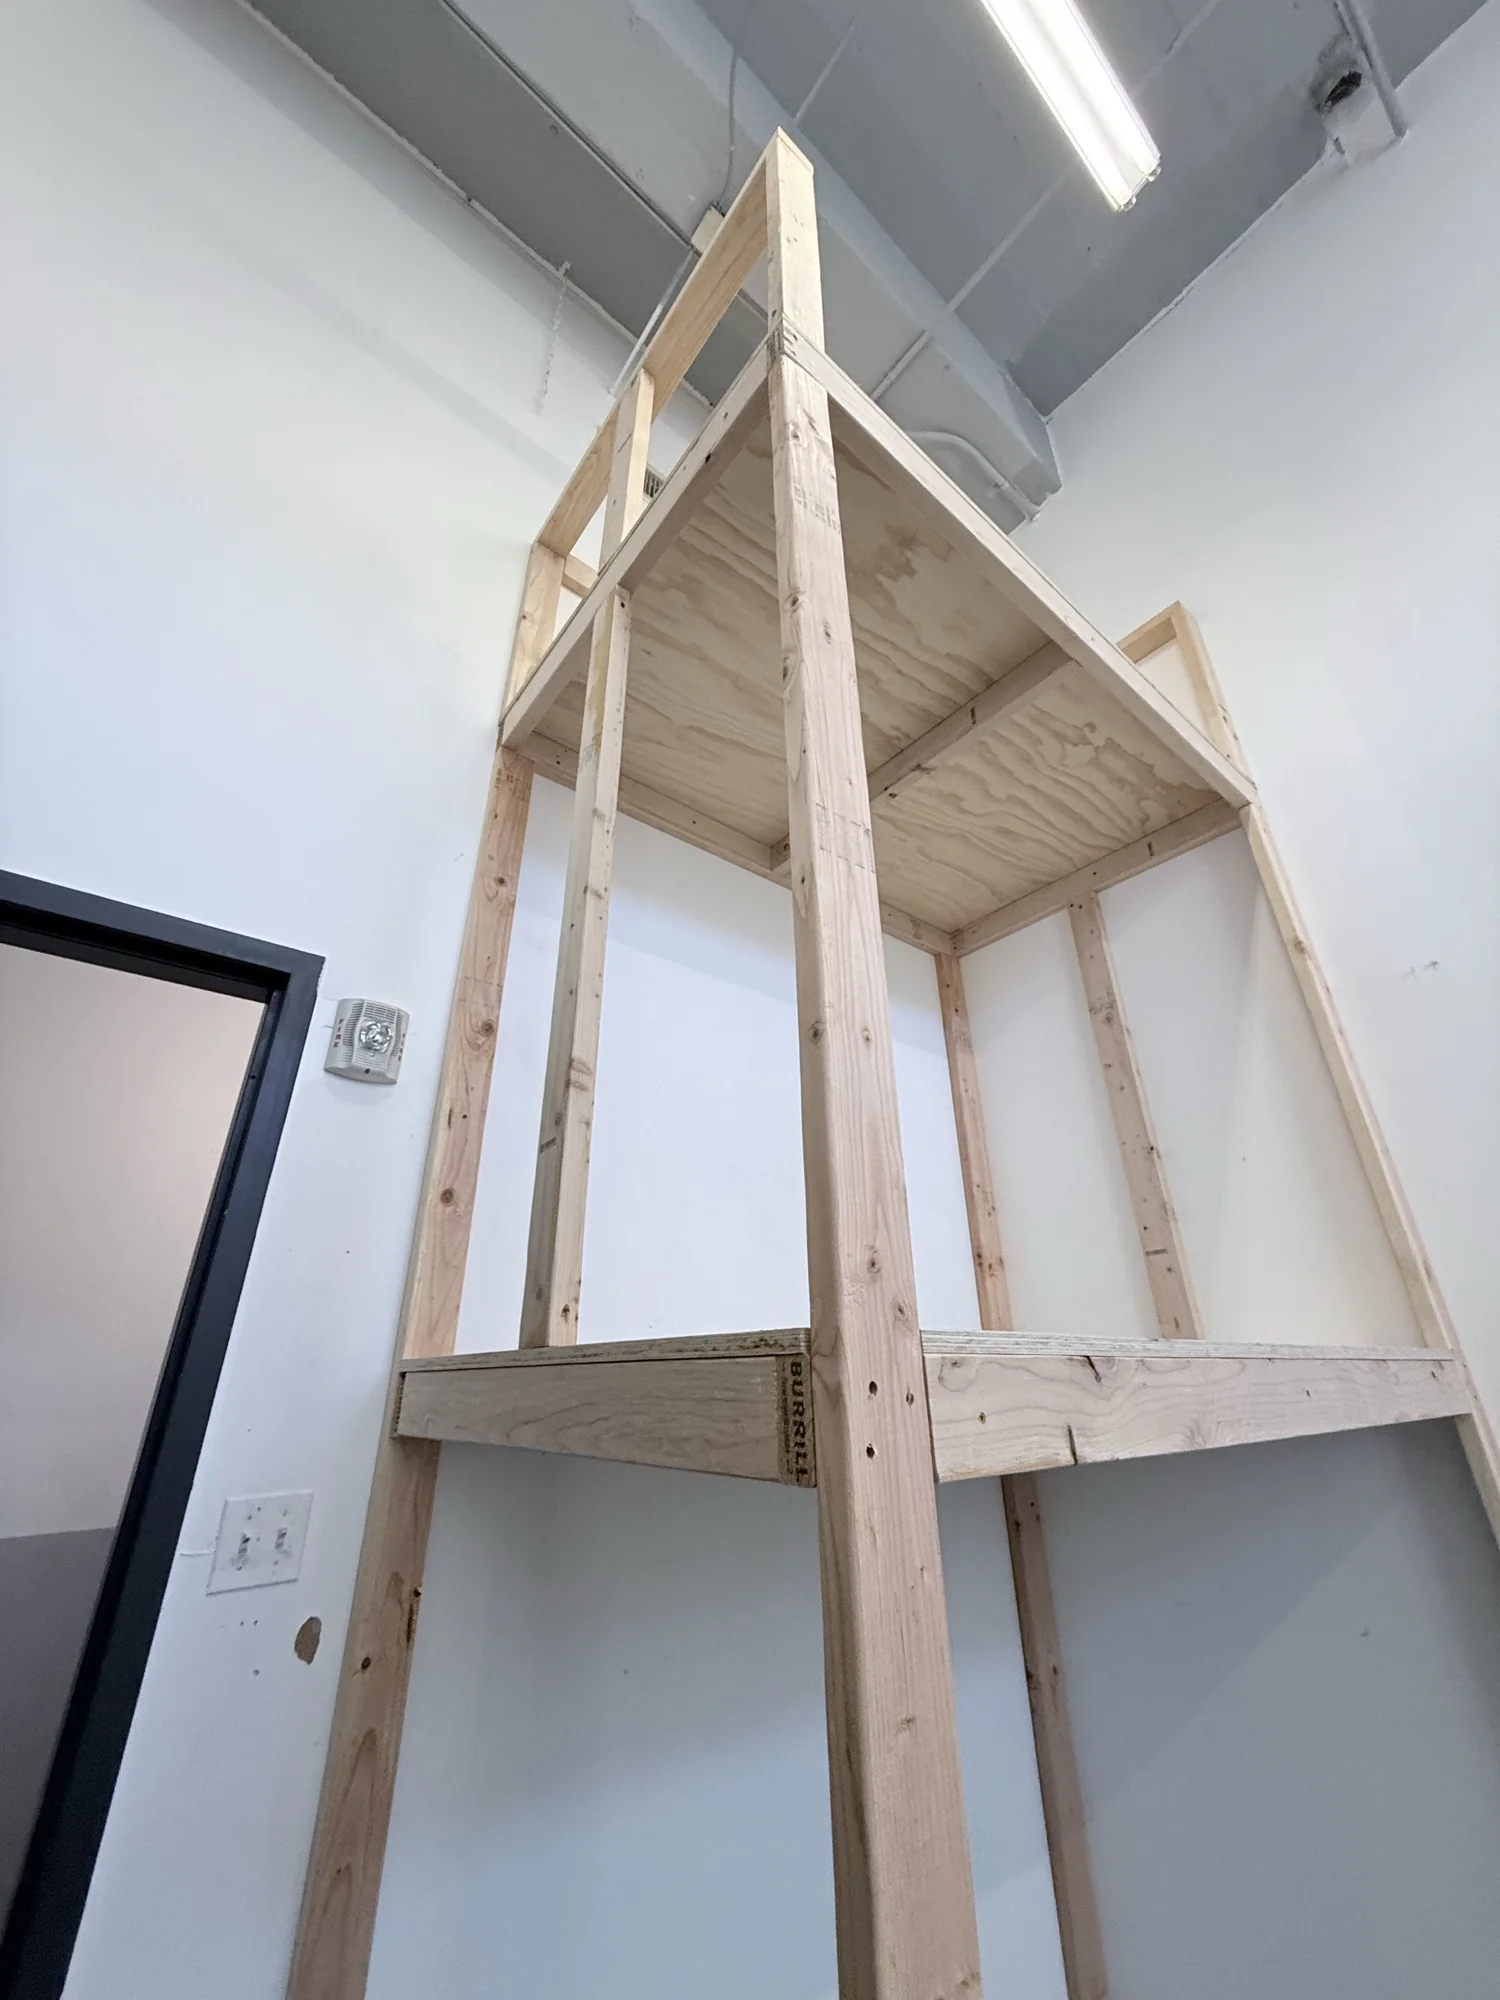
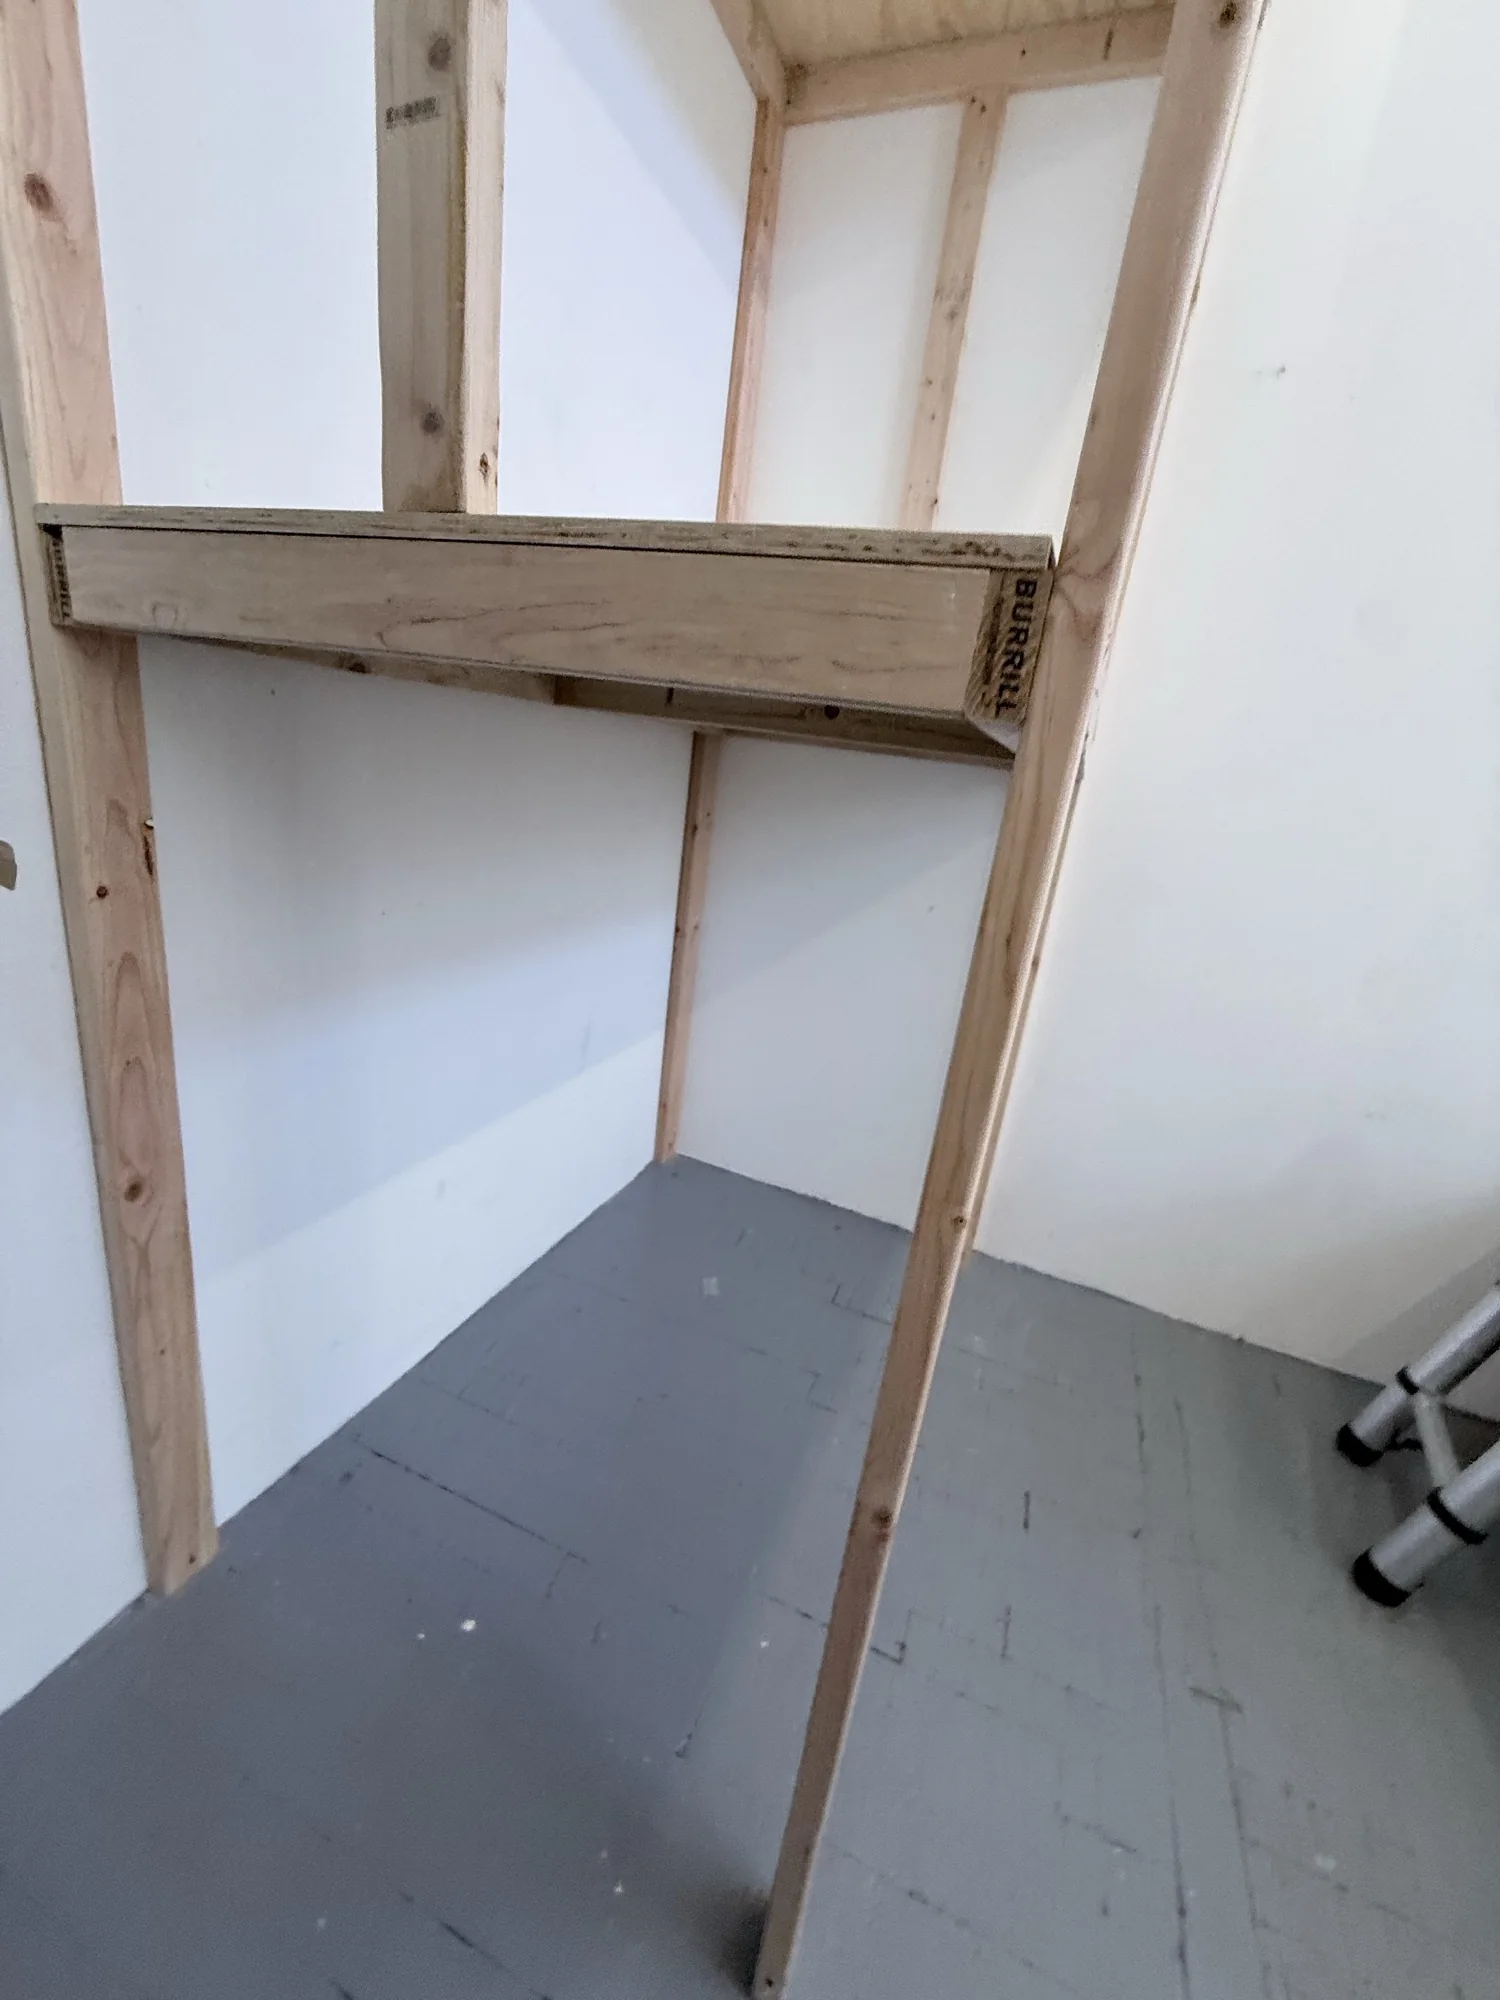
Assembly started around one in the afternoon and was finished before four. The two shelf frames were built first, then stood up between the posts; the upper frame rests directly on the post tops. Each shelf has a center crossmember under the plywood. The rack was checked for level as it went up and screwed to the walls.
From the 3D design stage to the frame standing in the studio.
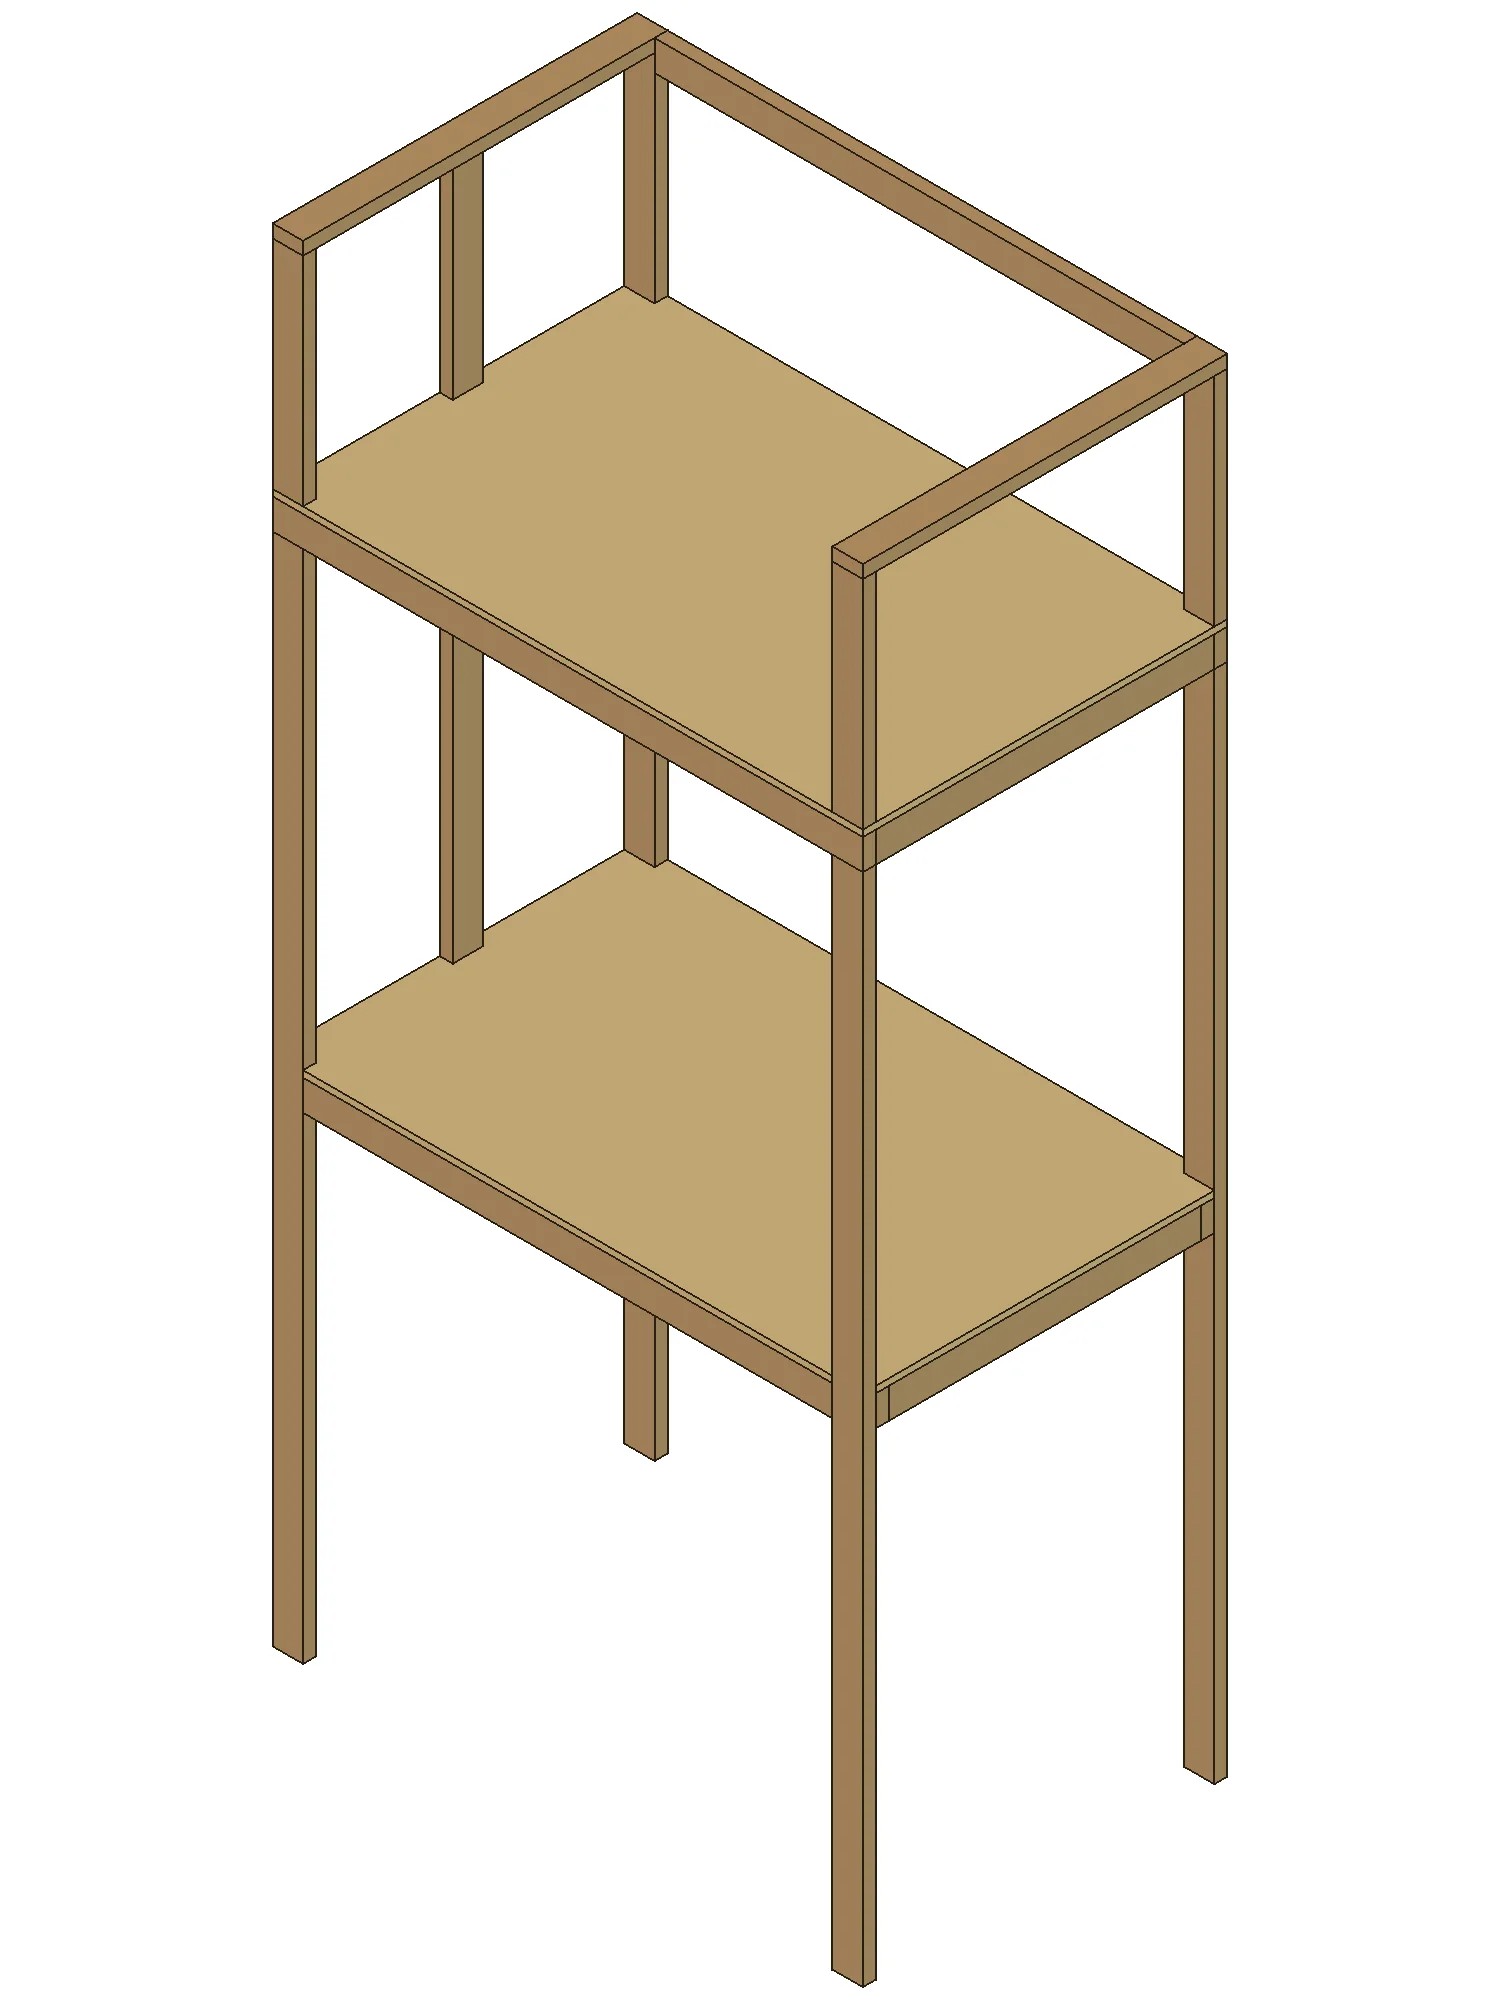
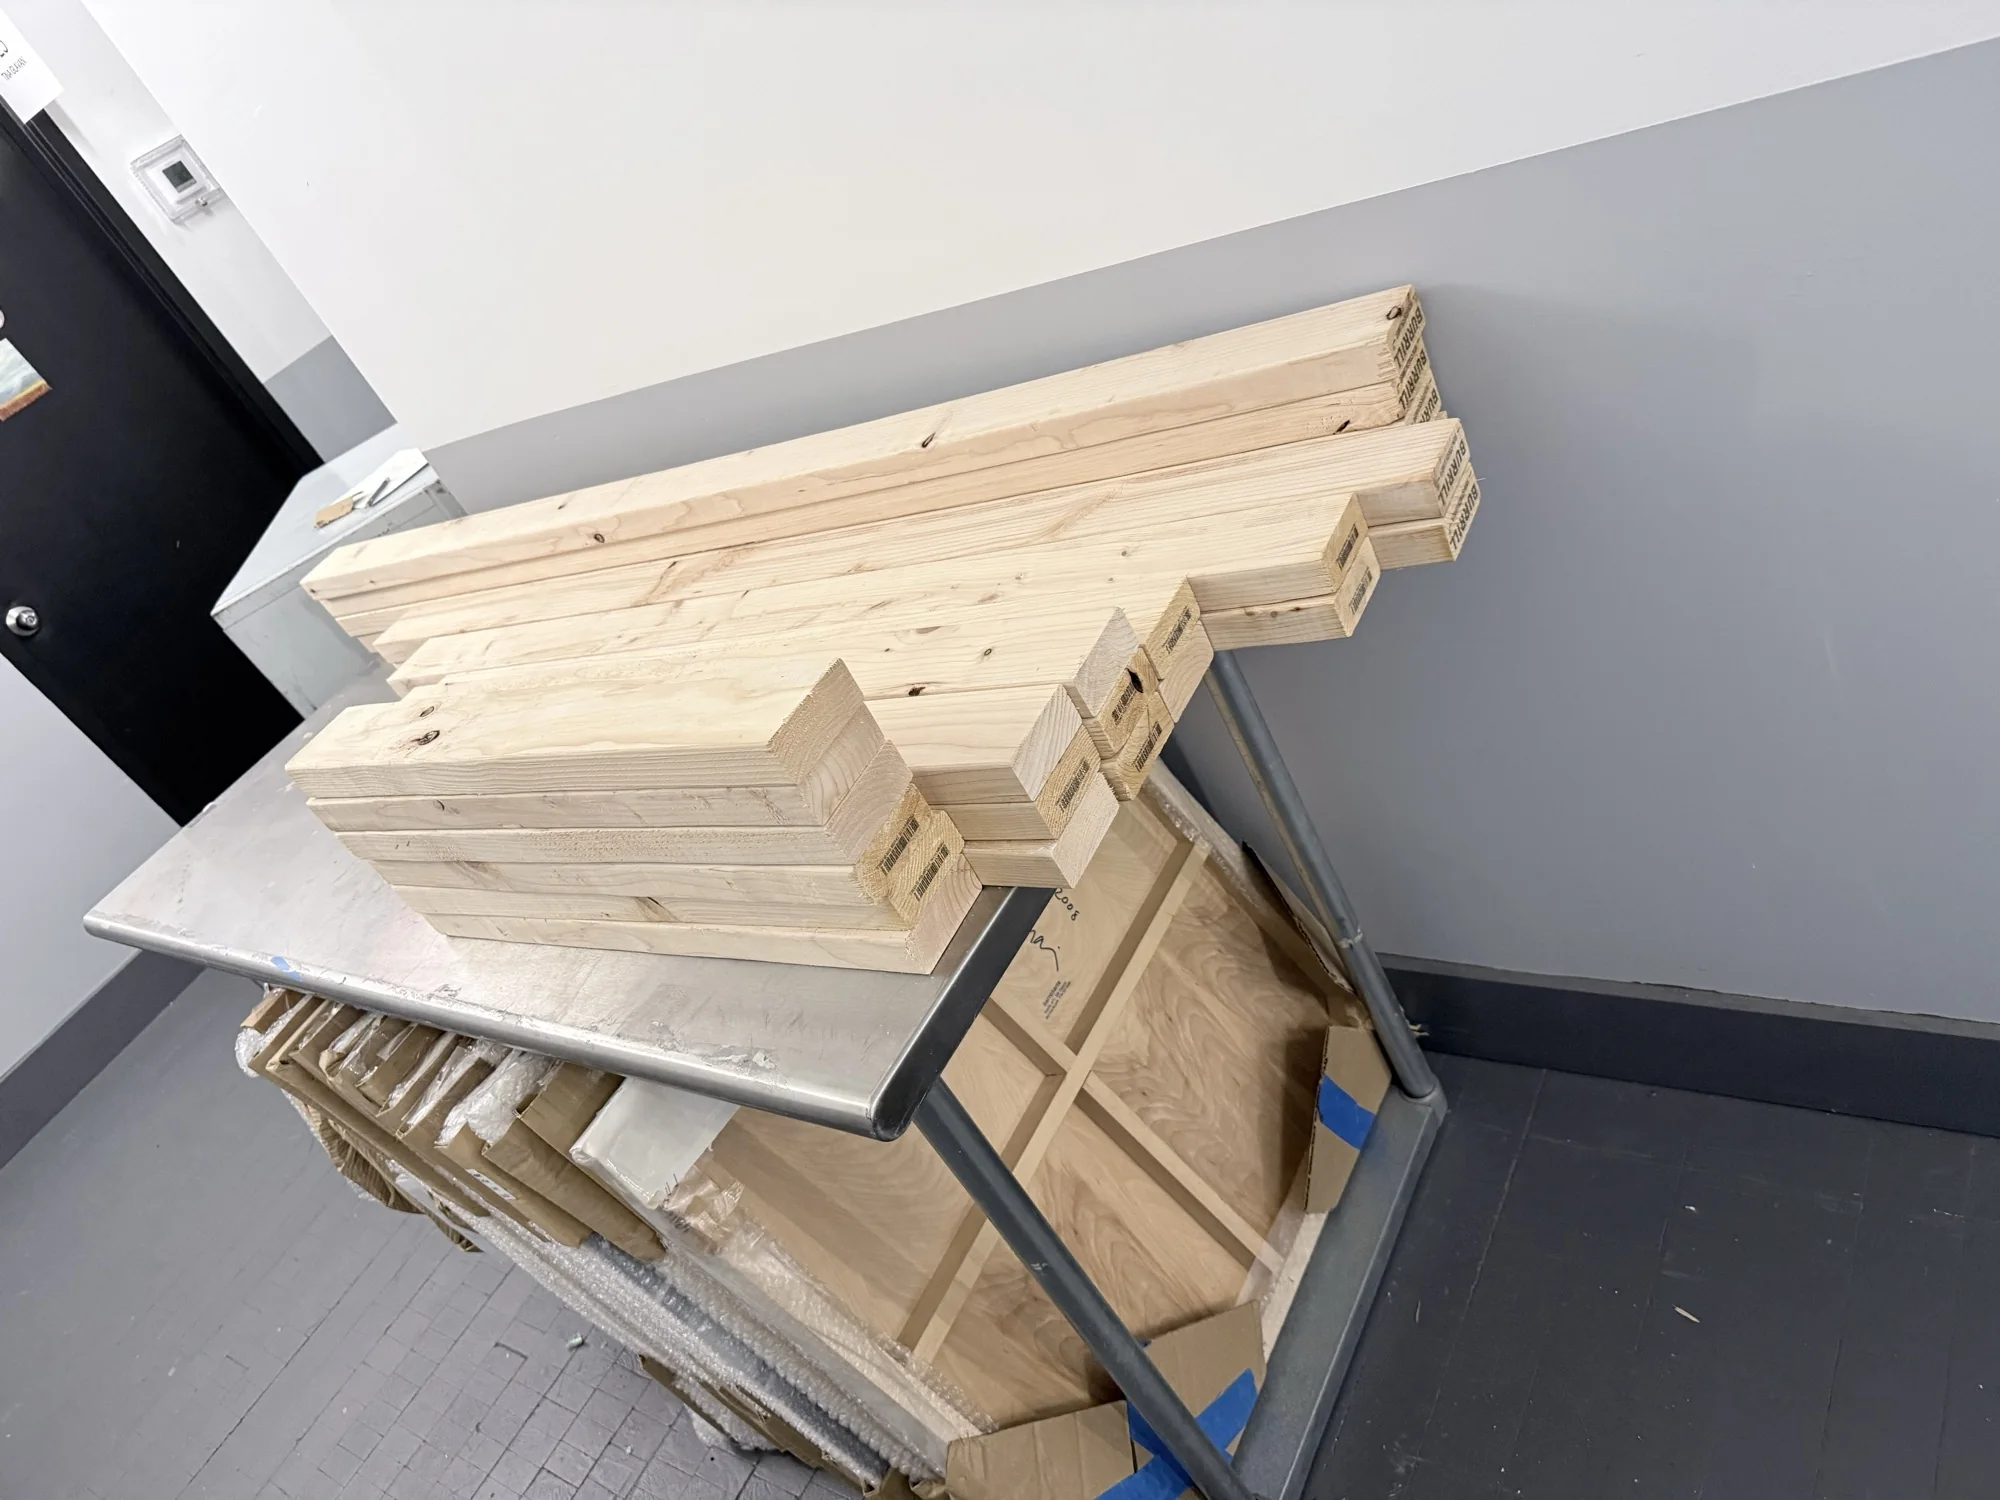
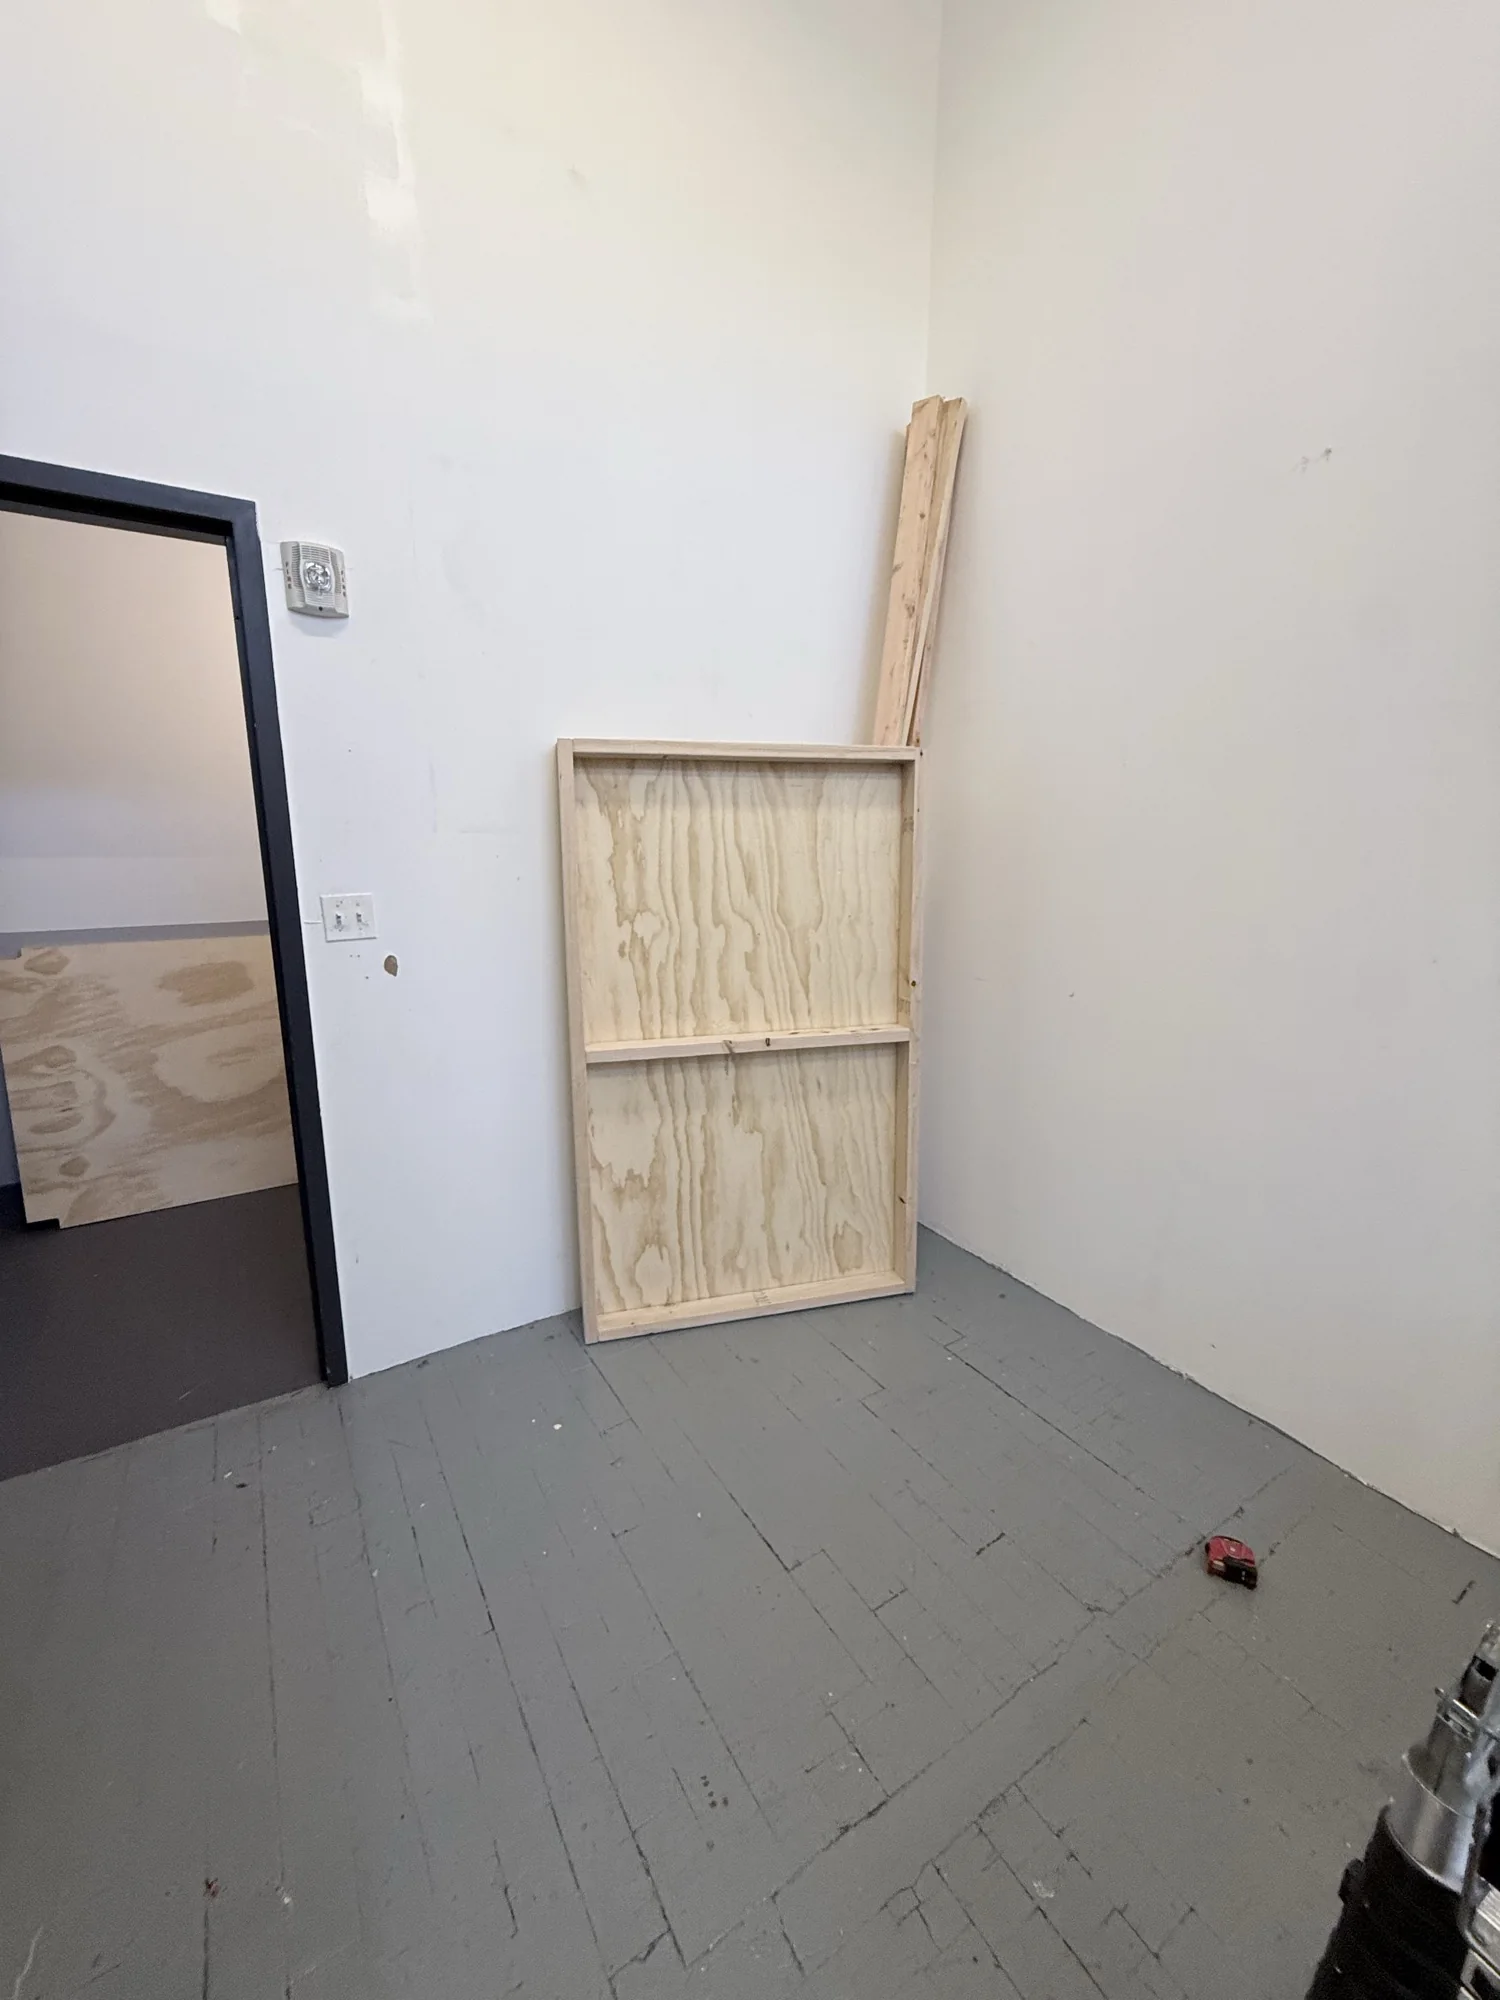
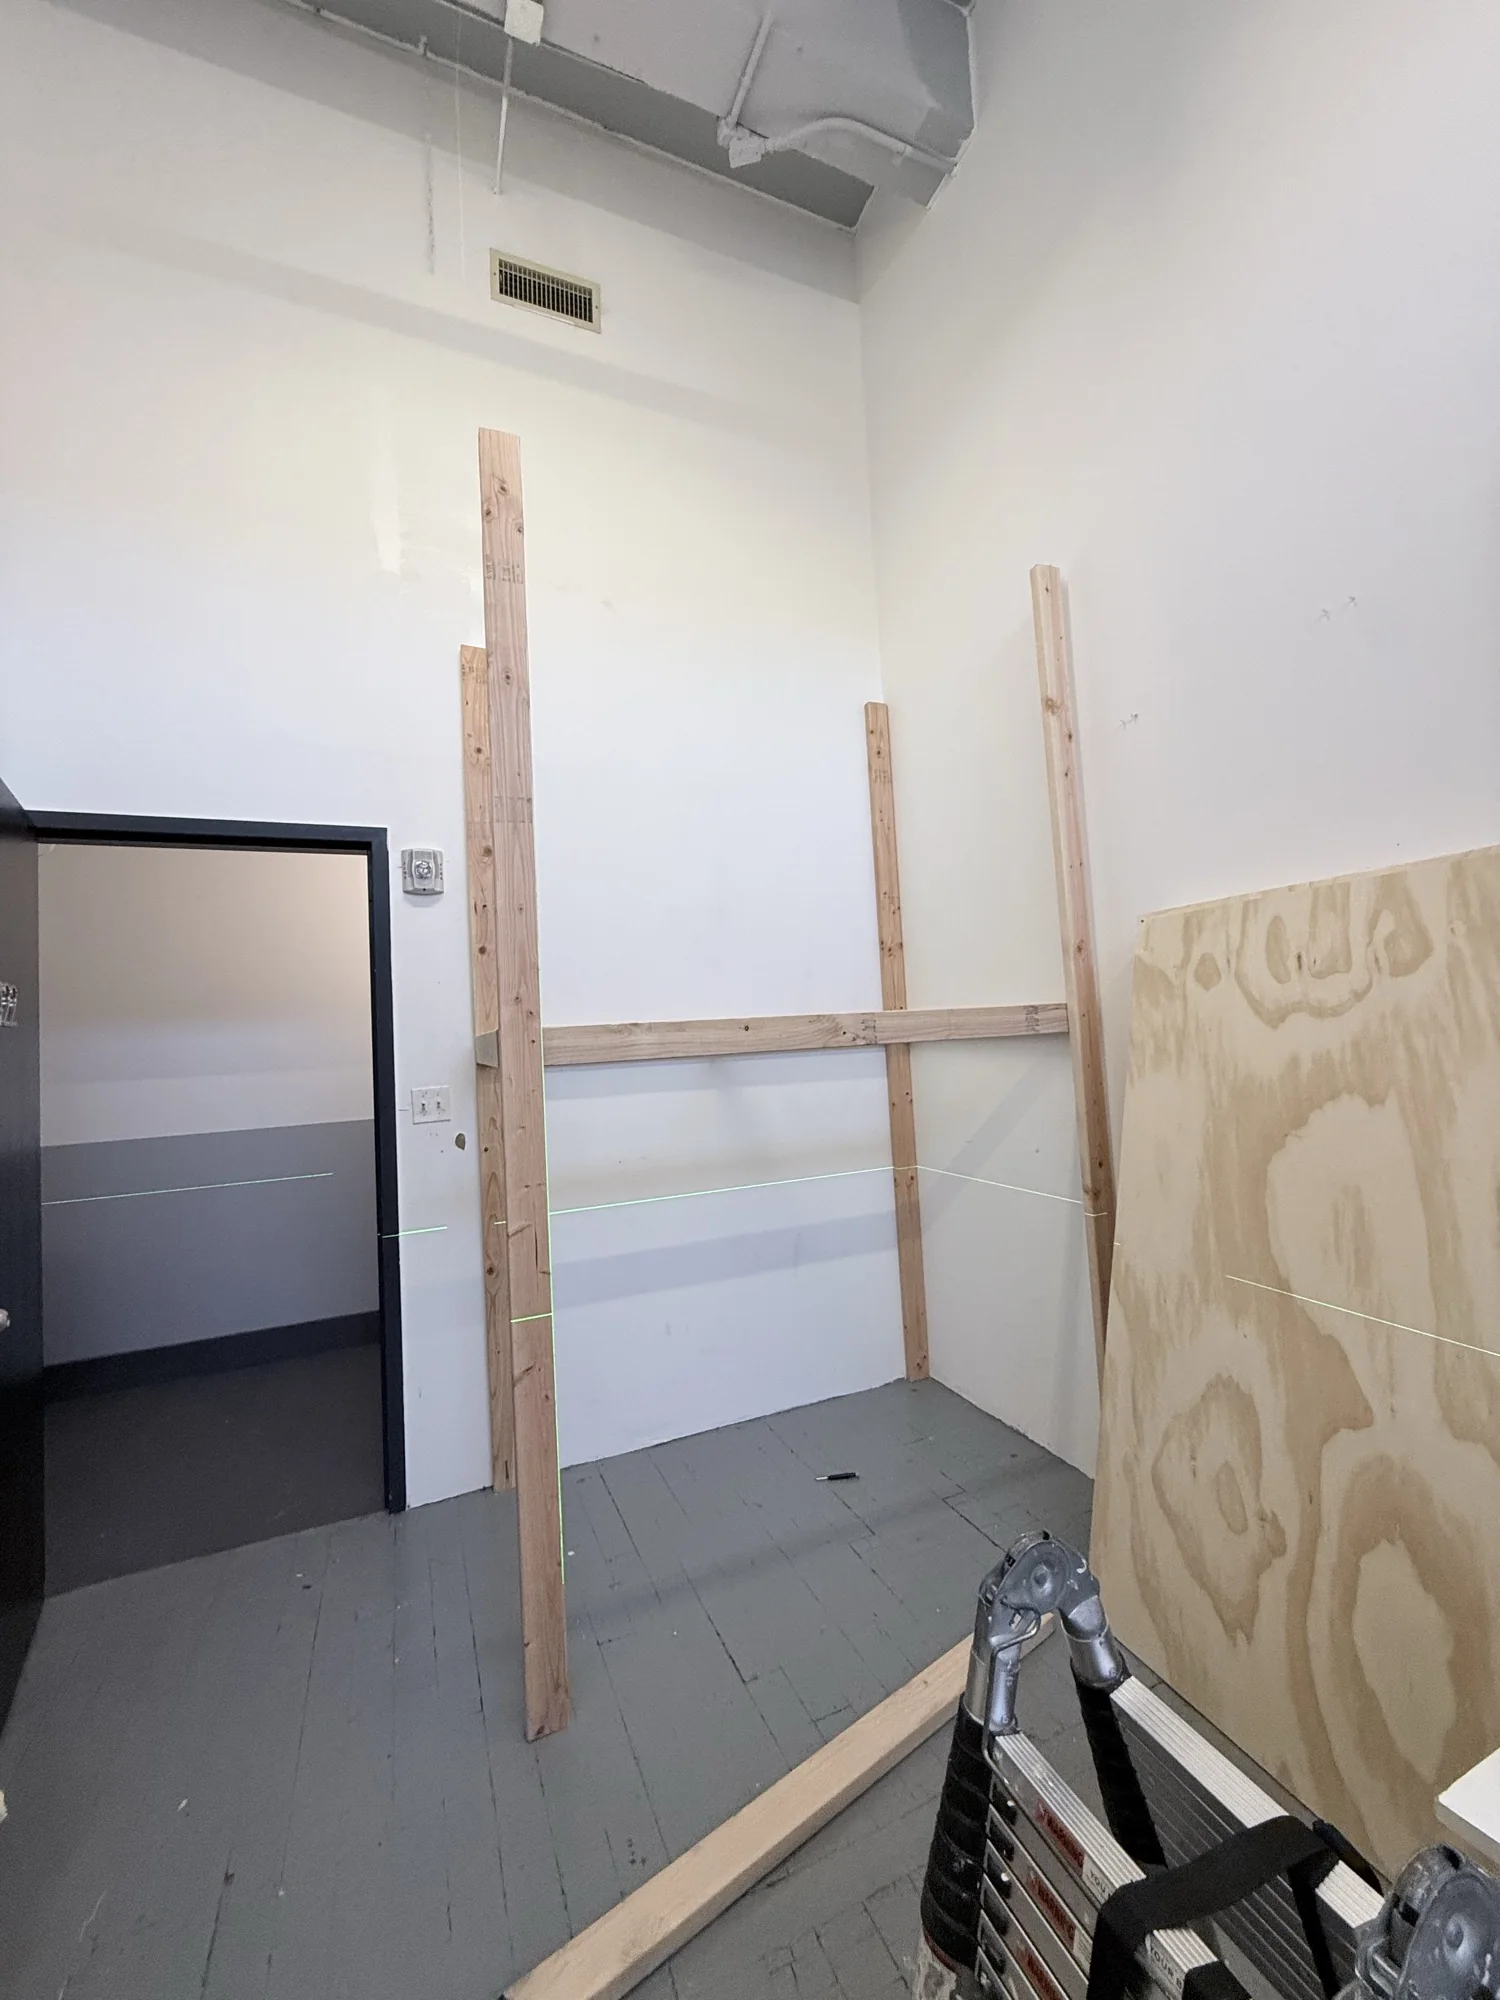
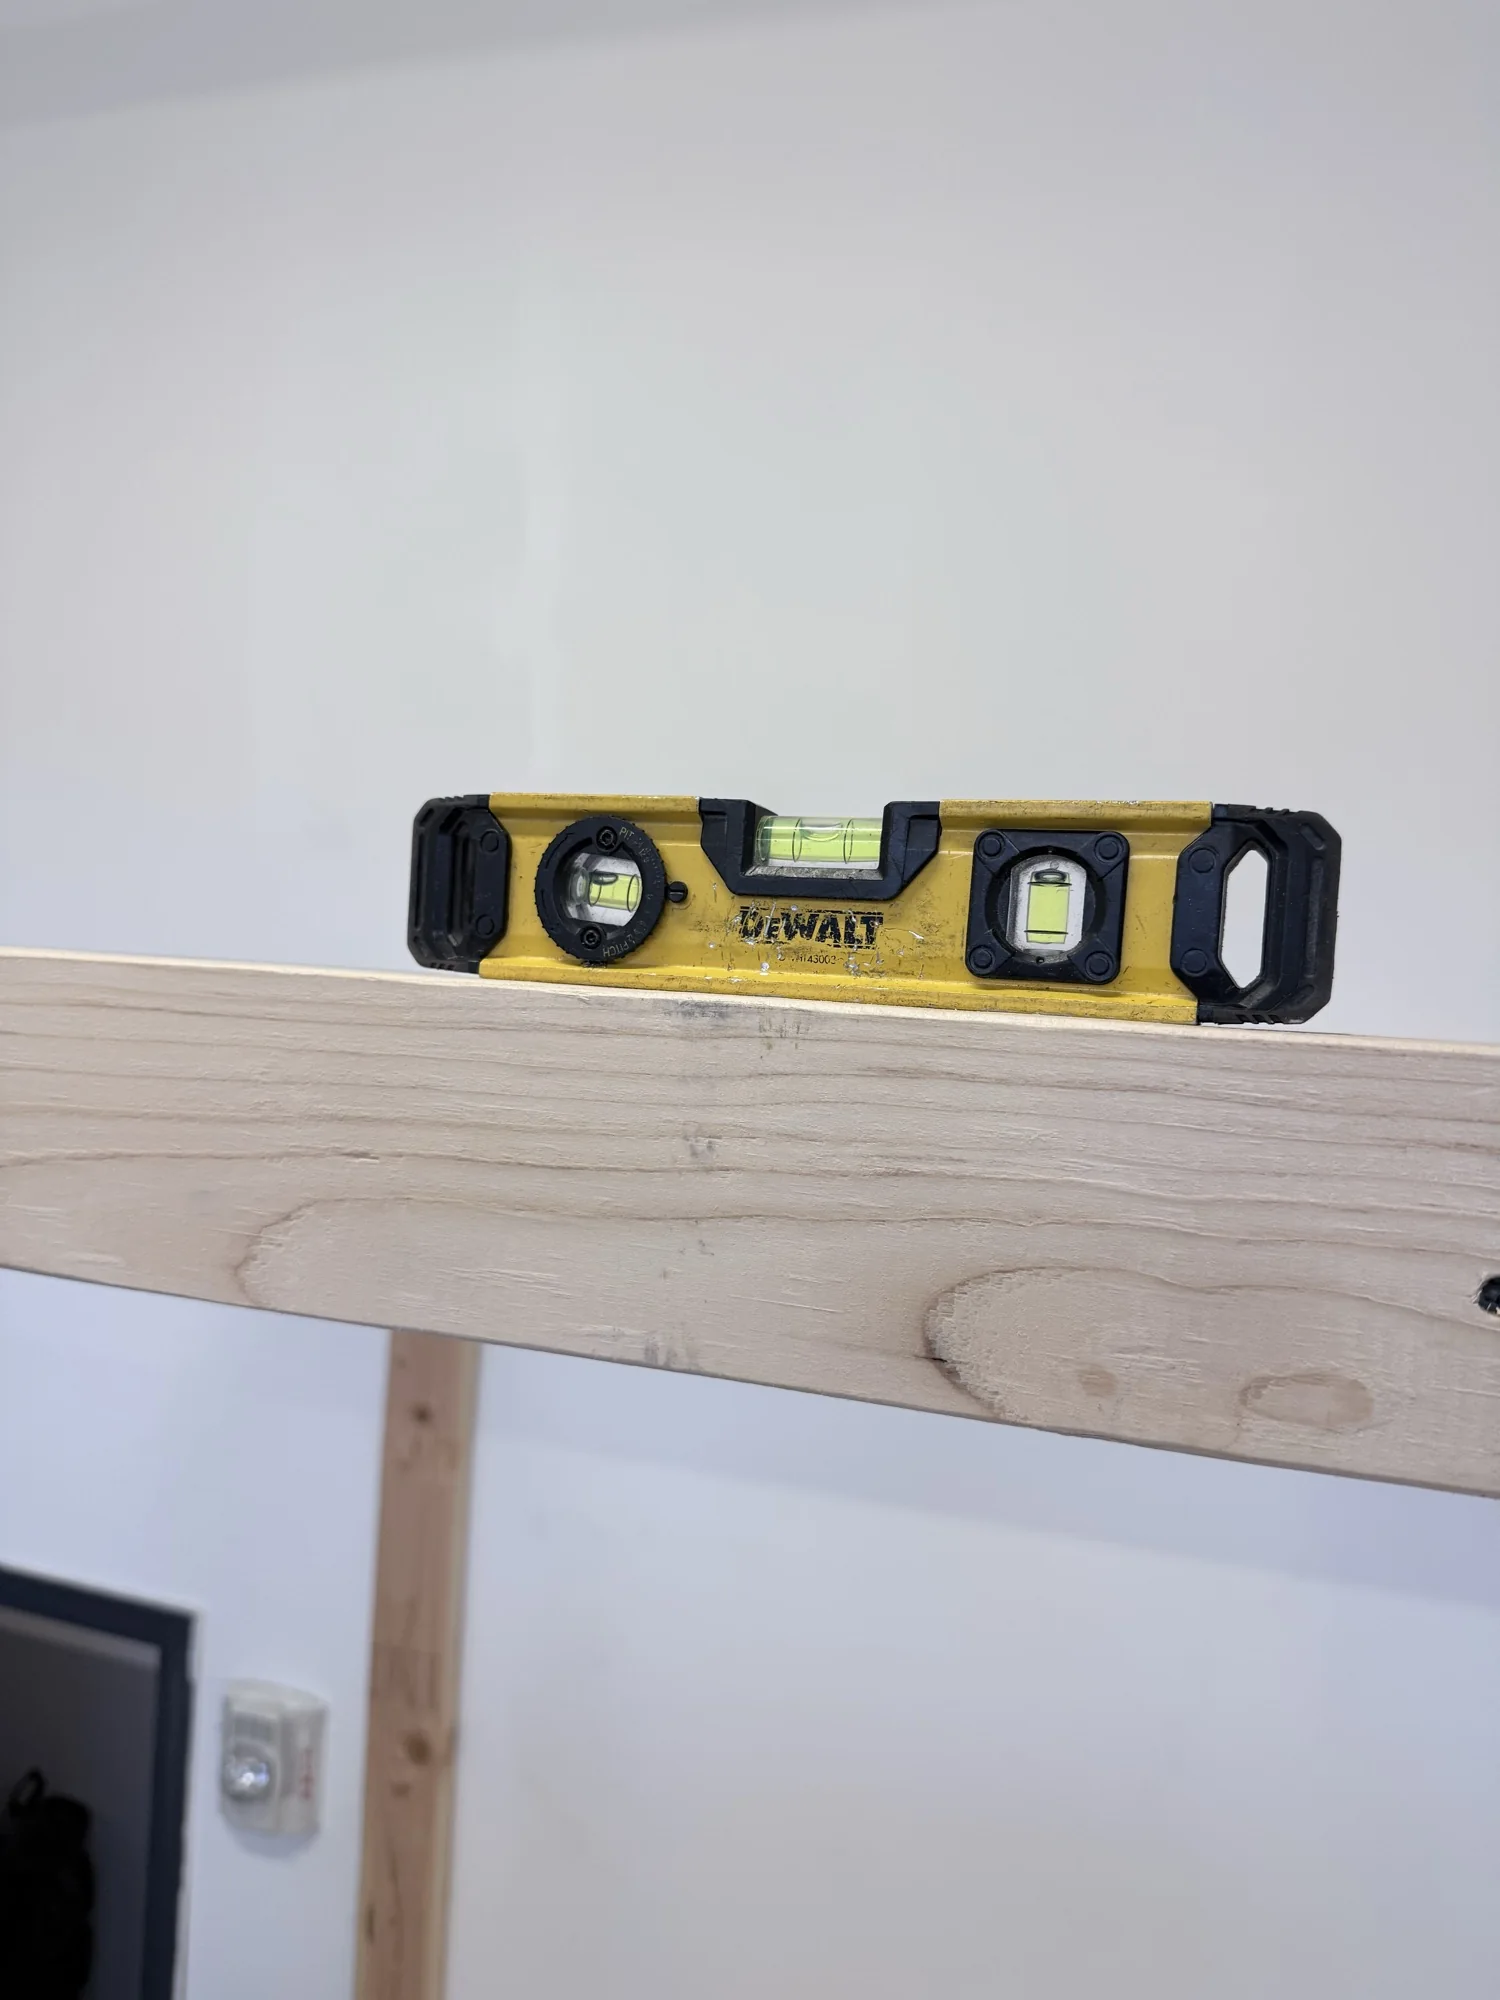
Storage for paintings is mostly about access. The frame is open on the sides and back, plywood is used only for the two horizontal shelves, and the tallest bay uses the studio floor as its base — so a large panel slides in and out without lifting it over anything.
Building from a model is what made a one-afternoon install possible. Every part had a length before it was cut, the wood-on-wood bearing of the upper frame was decided on the drawing, and the joints were placed where a tool can actually reach. In a working studio that means less noise, less dust and less time with the room out of use.
A 2x4 frame with two plywood shelves and top guard rails, fastened to the walls and ready for the work to go in.
This project connects to shelf installation, furniture assembly and general carpentry and repair work for homes, studios and small businesses across New York City.
Yes. This rack was sized around work of about 48 by 48 inches stored upright: an open 2x4 frame, 68 inches wide, 42 deep and 142 tall, with two plywood shelves and the floor as the lowest level.
Yes. Here the rack was modeled in 3D first and adjusted with the artist until the size and shelf heights were agreed. The model gave the drawings and the cut list, so nothing was improvised on site.
On this job the on-site assembly took about three hours, because the parts were cut to length before they came into the studio. The design and approval happened beforehand.
Yes. A tall, narrow frame should not rely on its own weight, so this one was leveled and screwed to the walls.
Send a few photos and rough measurements of the space and what needs to be stored, and Repair ASAP can design and quote a made-to-measure rack or shelving.